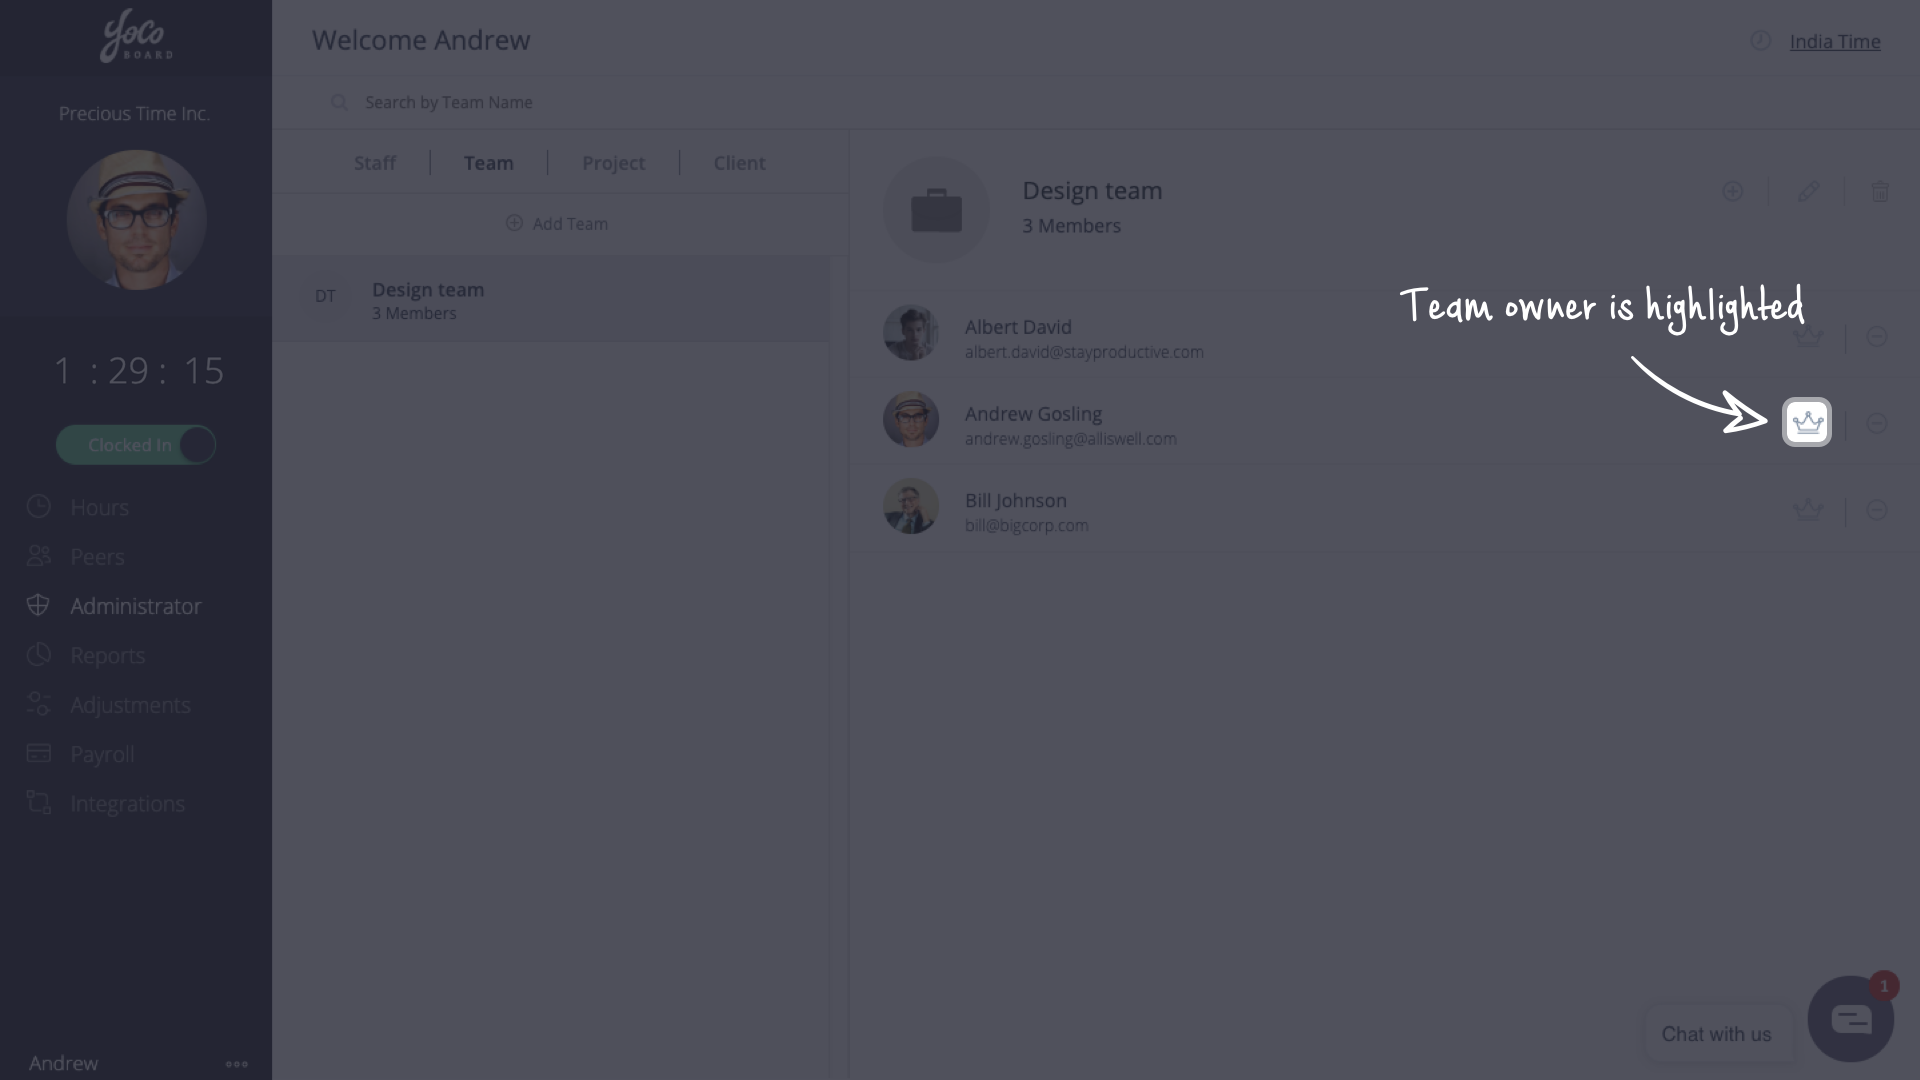
With the YoCoBoard Add-on, track time straight from your Firefox browser without opening a new tab. The add-on is a streamlined version of your YoCoBoard app, stationed on the top-right corner of your browser, enables you to log your productivity with a few clicks.
Installing the Firefox Add-on
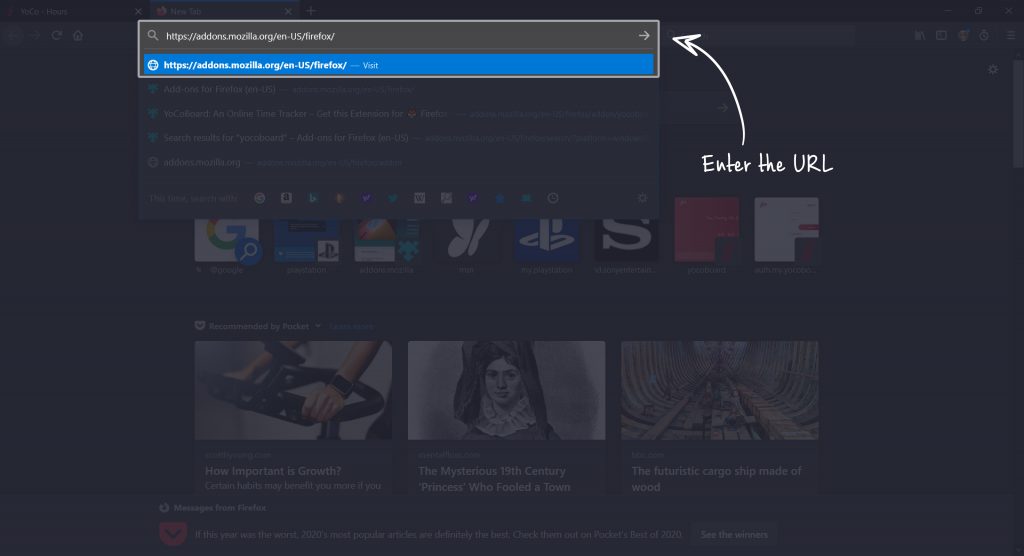
On your Firefox browser, go to https://addons.mozilla.org/en-US/firefox/
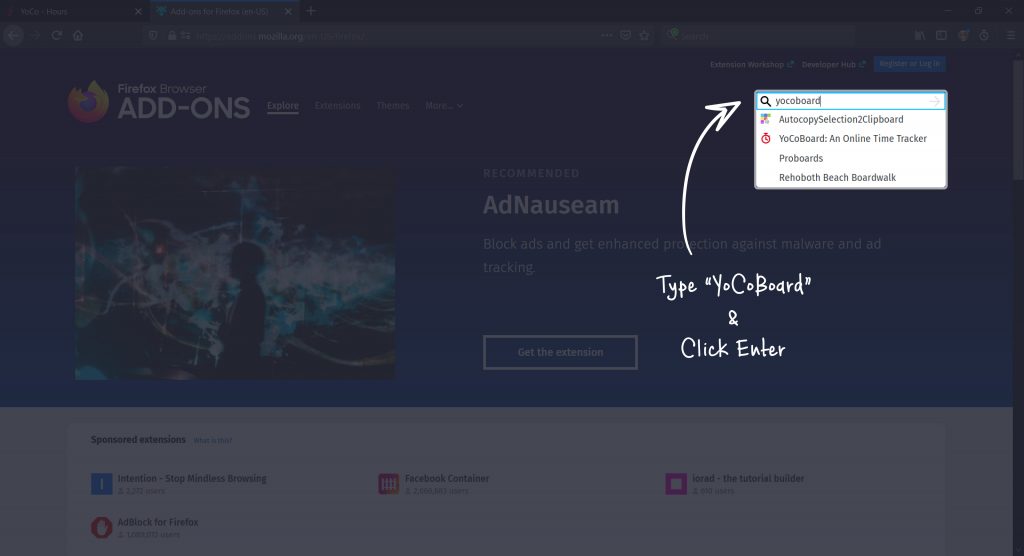
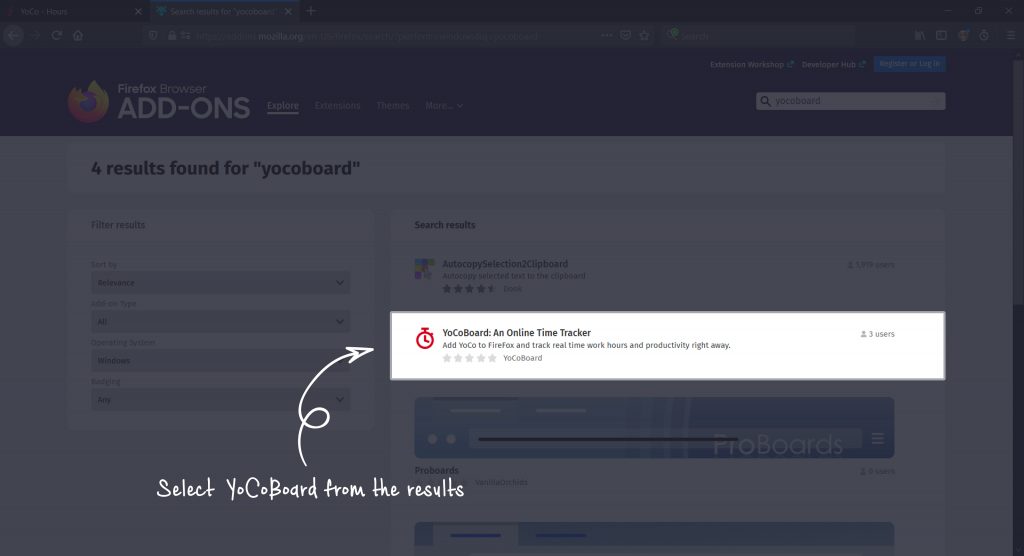
Type YoCoBoard in the find add-on search bar and hit enter.
Click the +Add to Firefox button.

Click Add in the confirmation pop-up that appears.
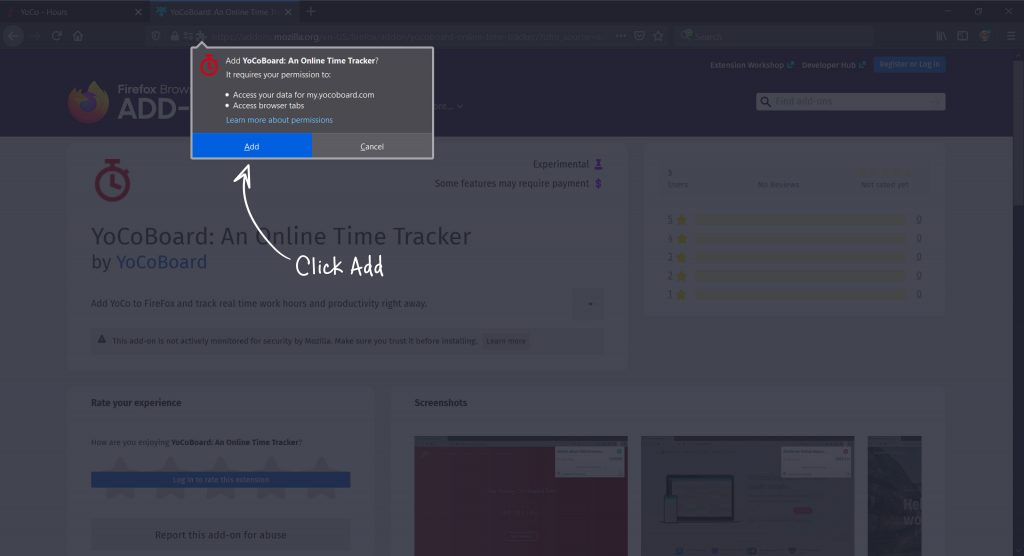
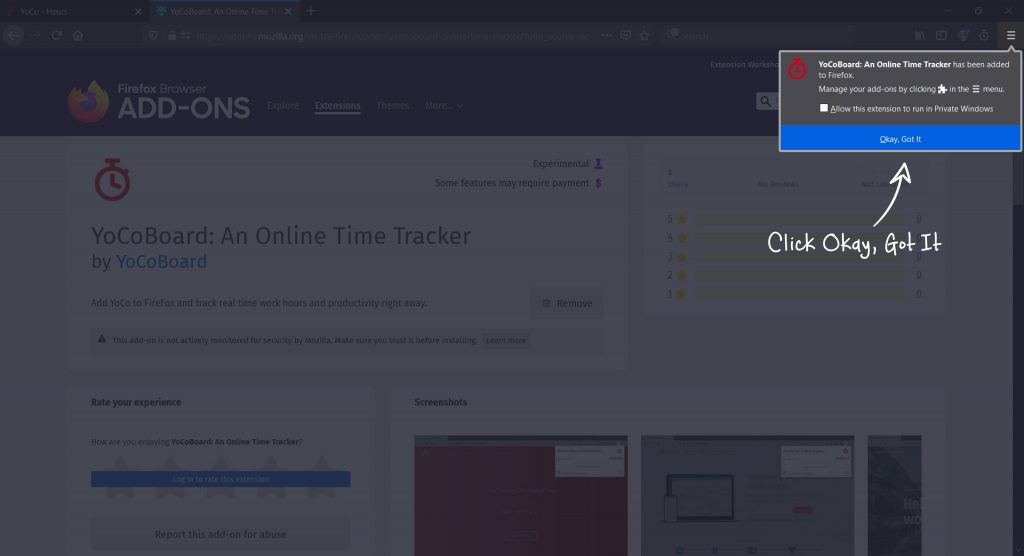
This will add the YoCoBoard add-on to your Firefox browser.
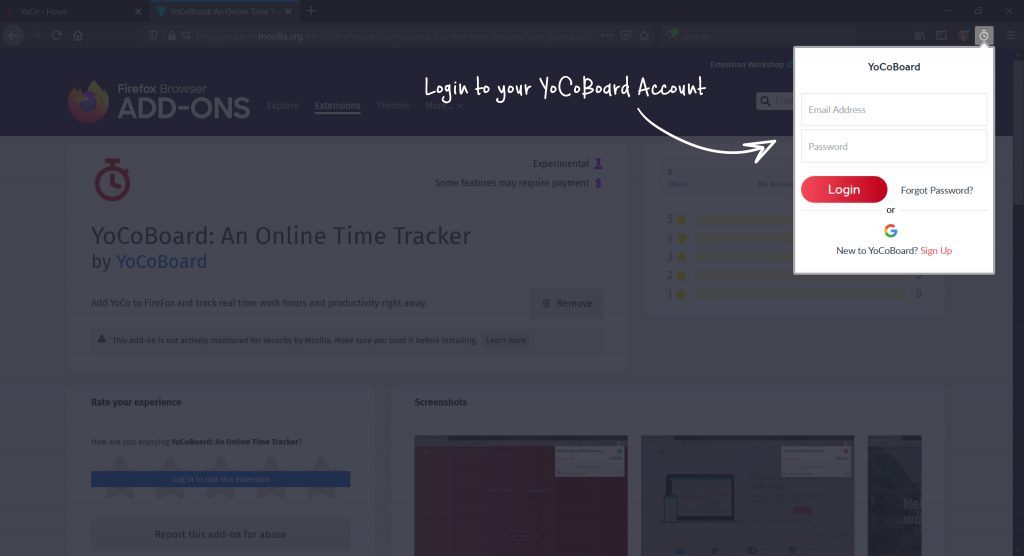
Using the YoCoBoard Firefox Add-on
To start using the add-on, first log in to your YoCoBoard account.
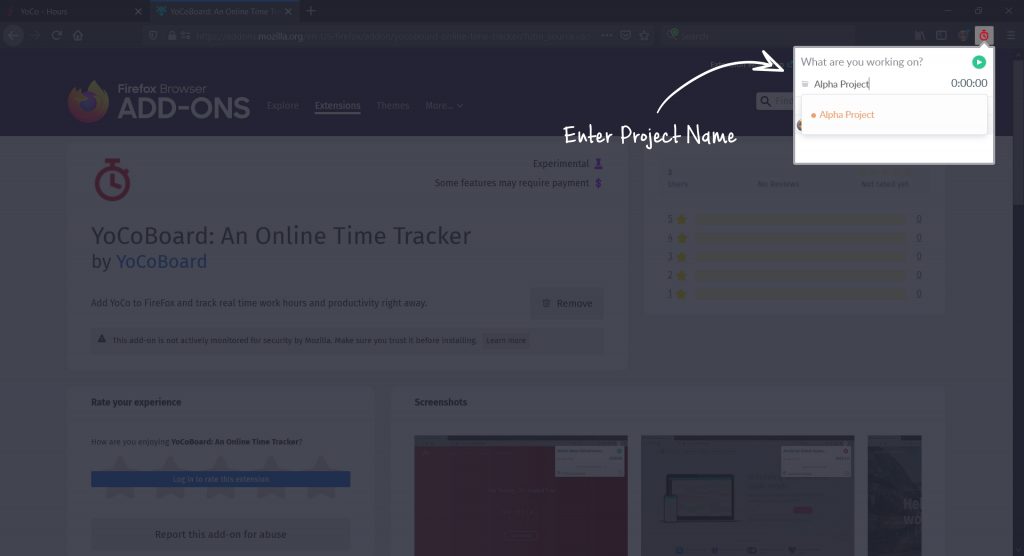
Click the Play button to clock in and start the timer.
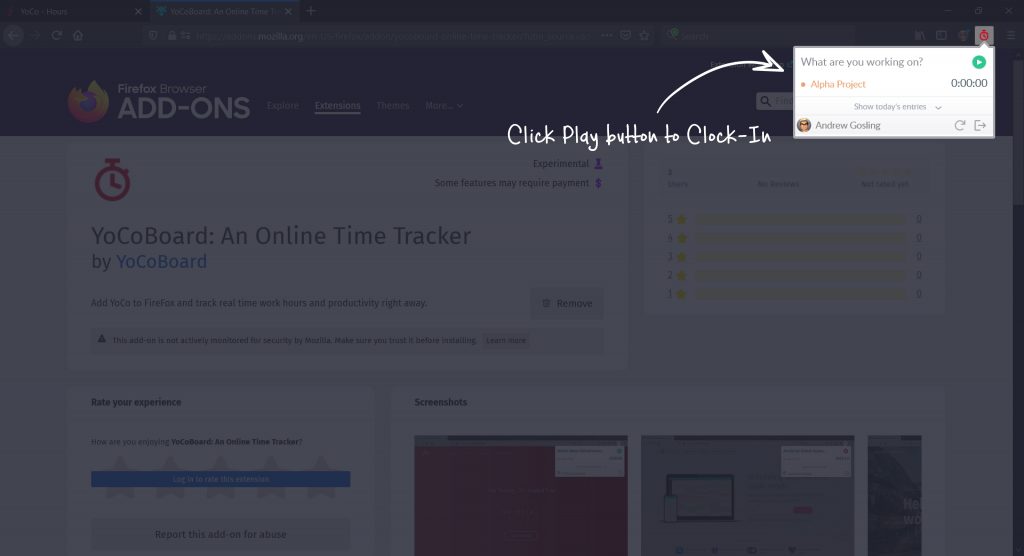
You can enter the project name and also view up to three entries.
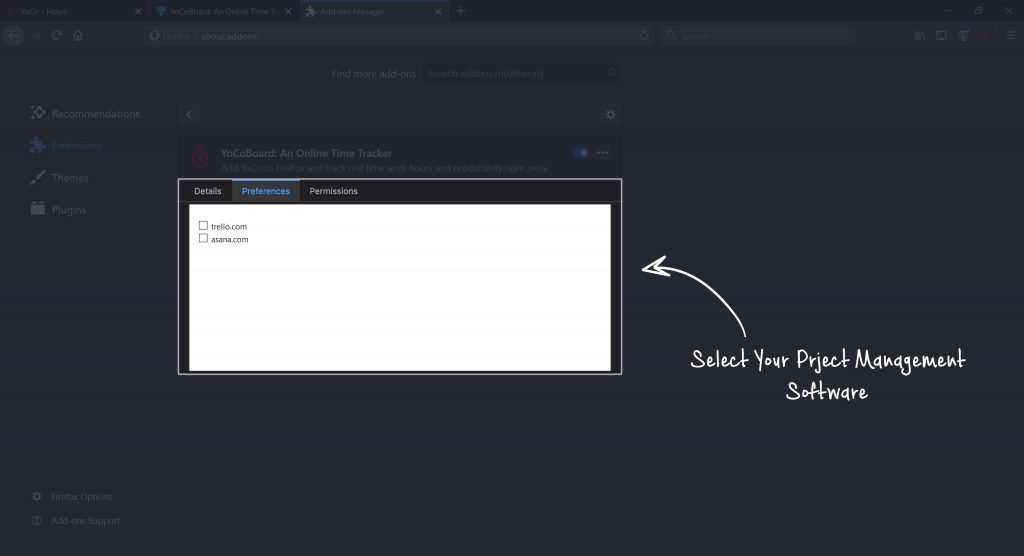
Enabling the Add-on for Trello and Asana
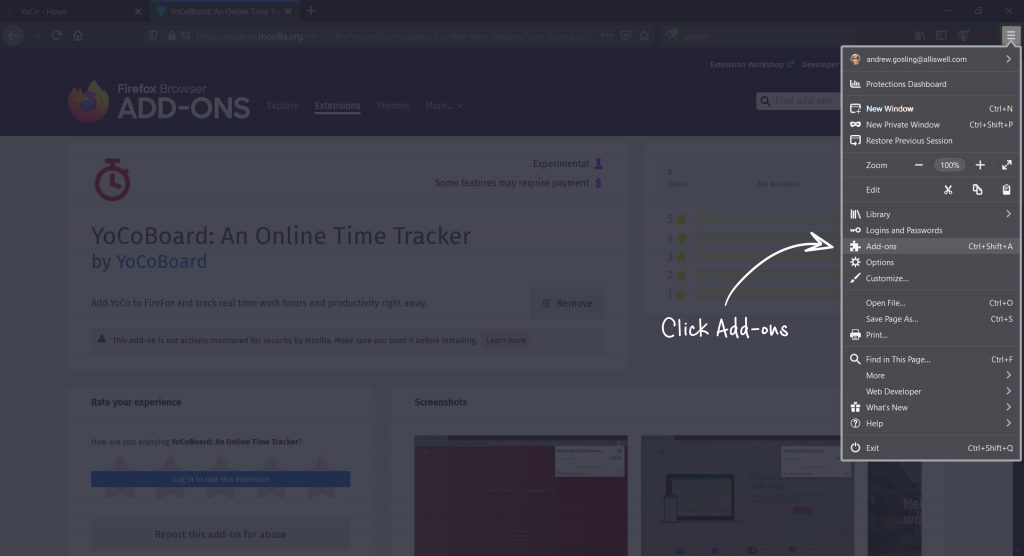
Click the three vertical bars on the top-right corner of the Firefox browser menu and choose Add-ons.
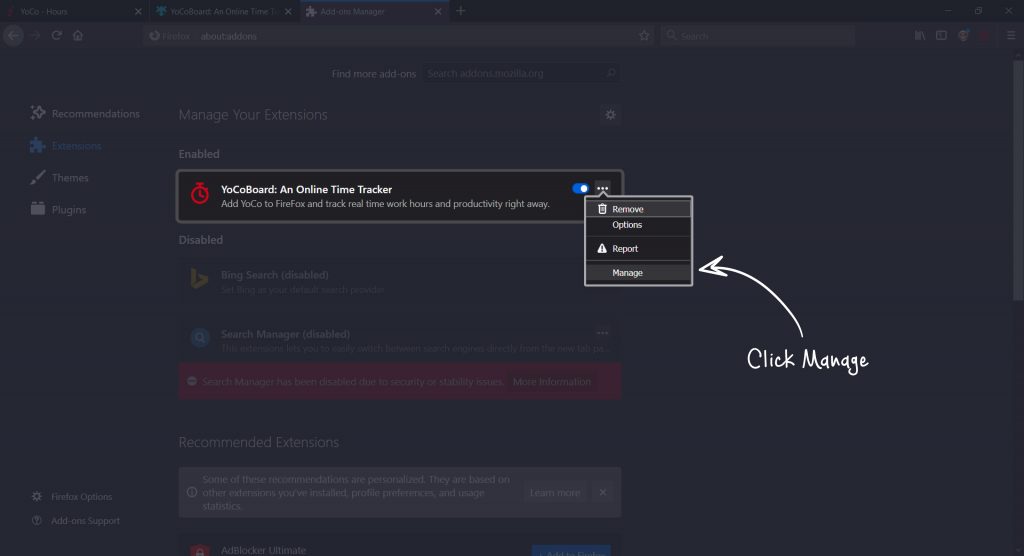
Click the three dots icon and choose Manage.
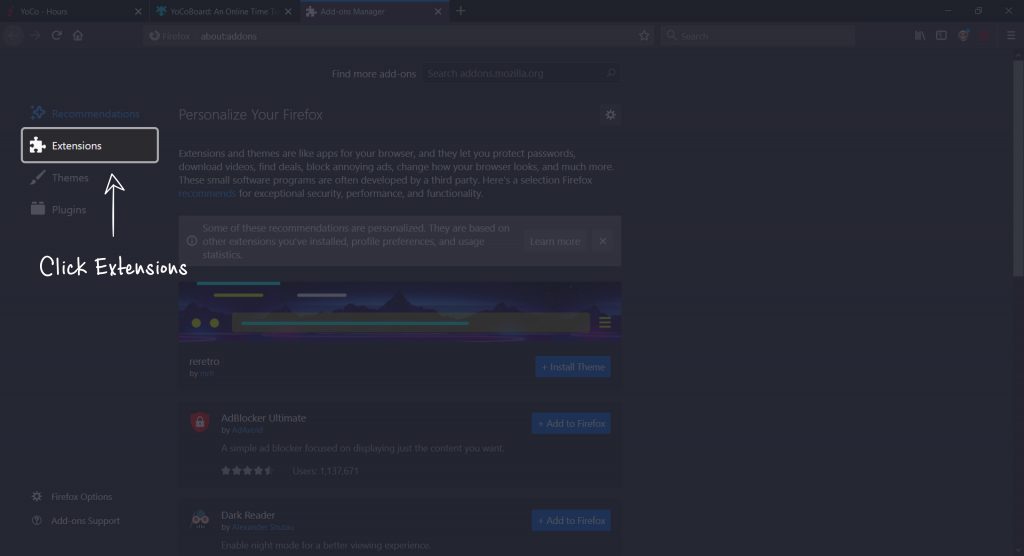
Under the Preferences tab, choose the project management software that you use and wish to track time on.