Manage Staff on Projects
Your staff can collaborate on a number of different projects. By assigning your staff to different projects, you can follow how they devote their time to each project. The staff profile lists out all the projects they are associated with.
Your staff can be assigned to existing or new projects. There are two ways to assign projects: from the Staff tab and Project tab.
Click here for the guide on the Staff tab.
1.1 How to assign staff to project
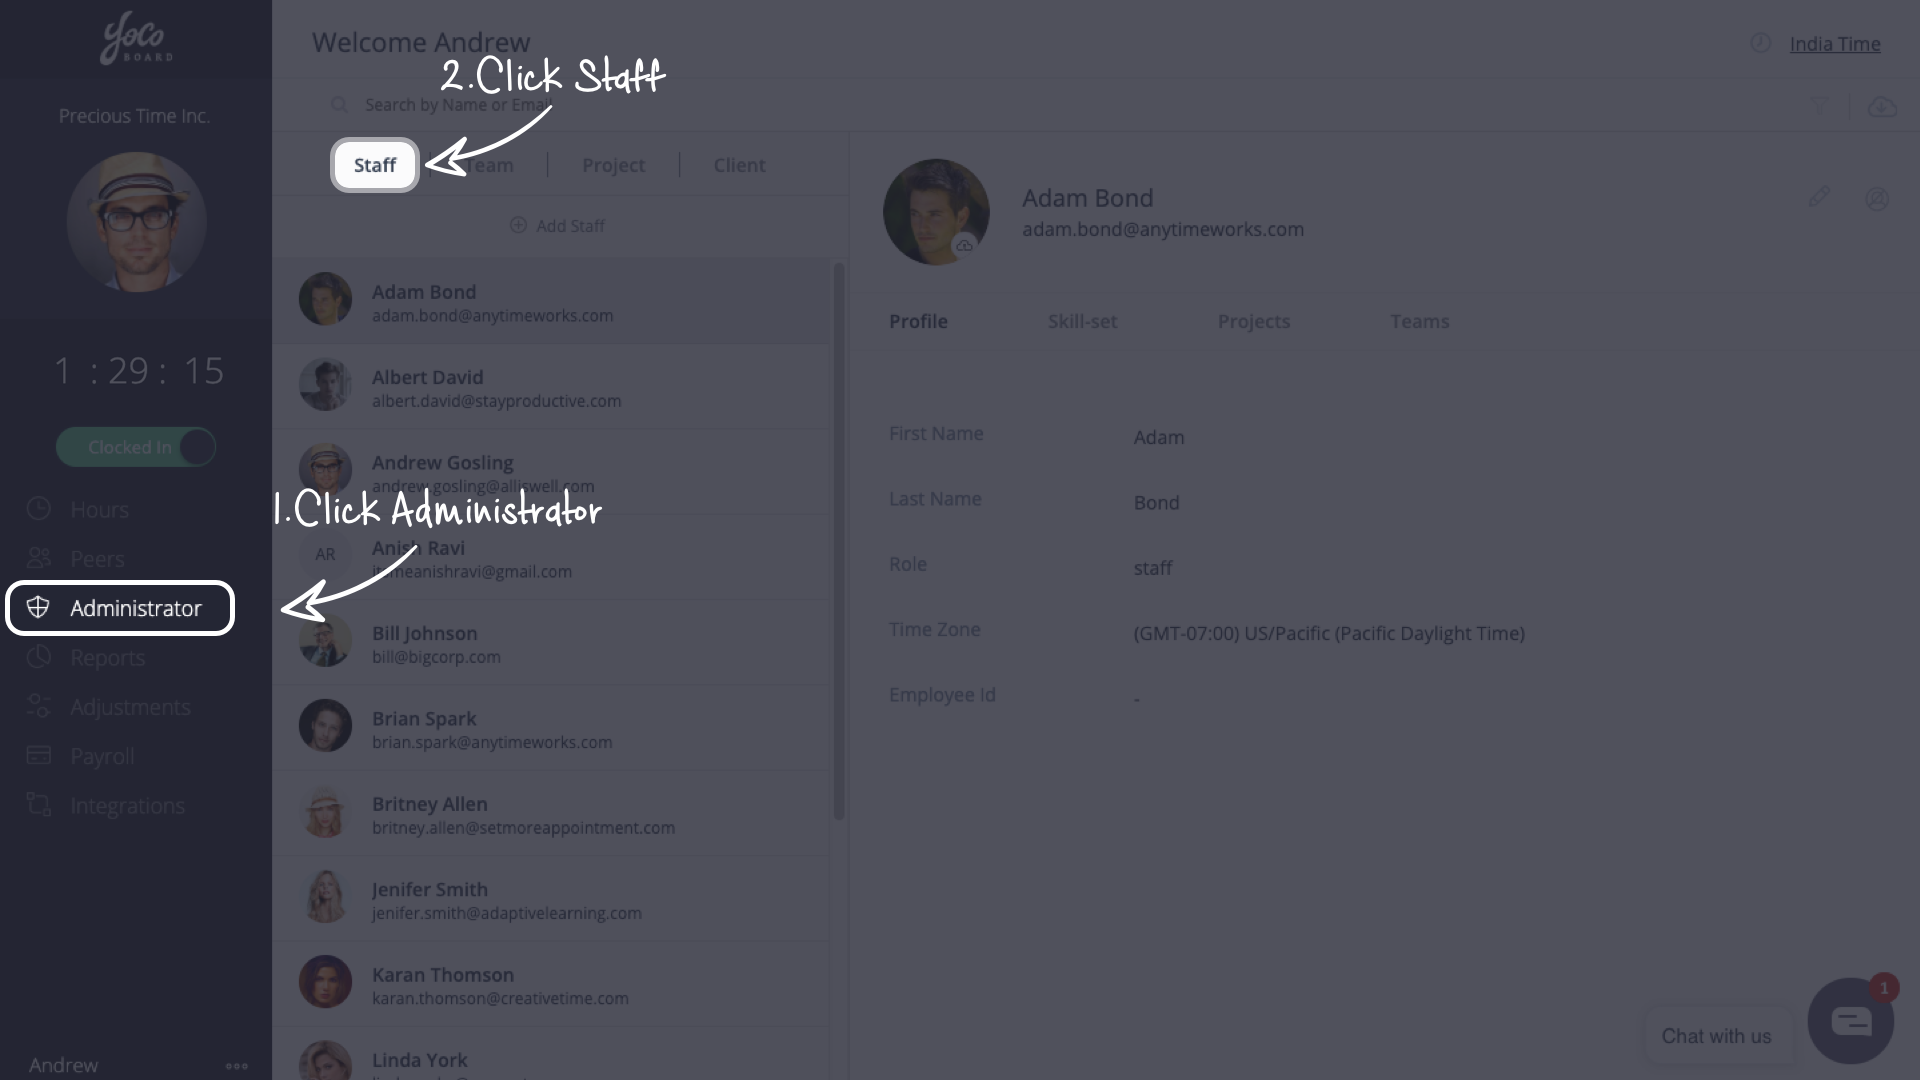
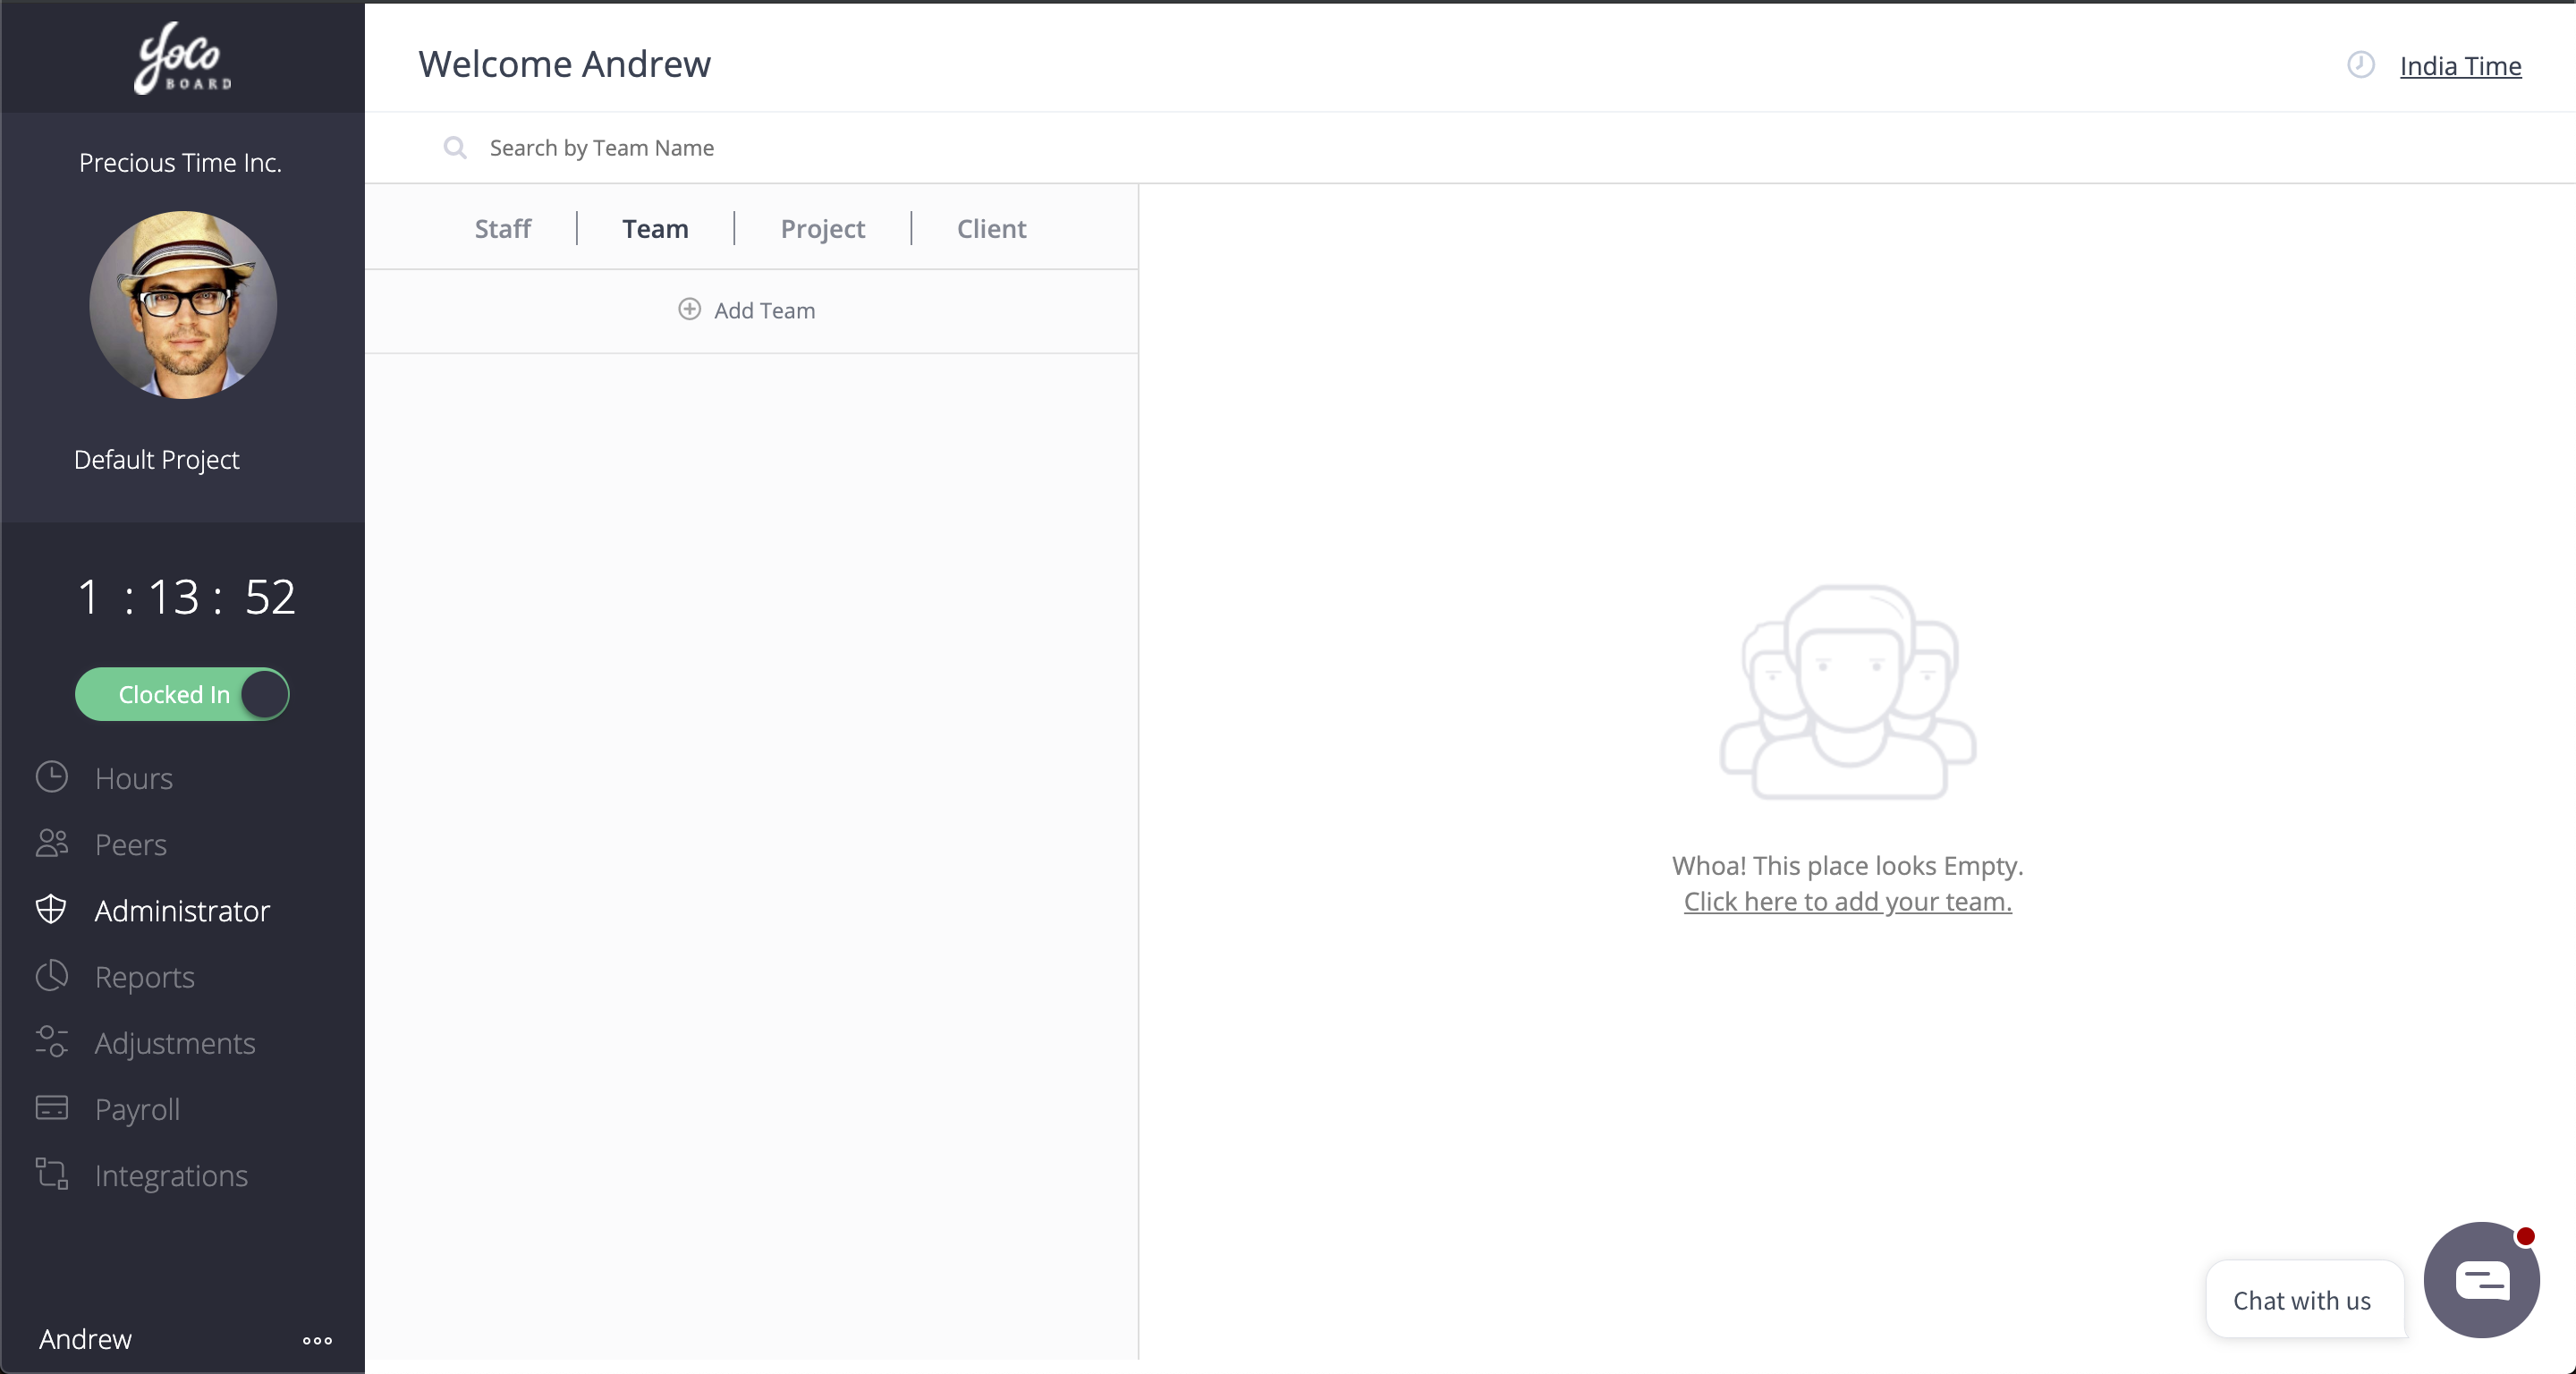
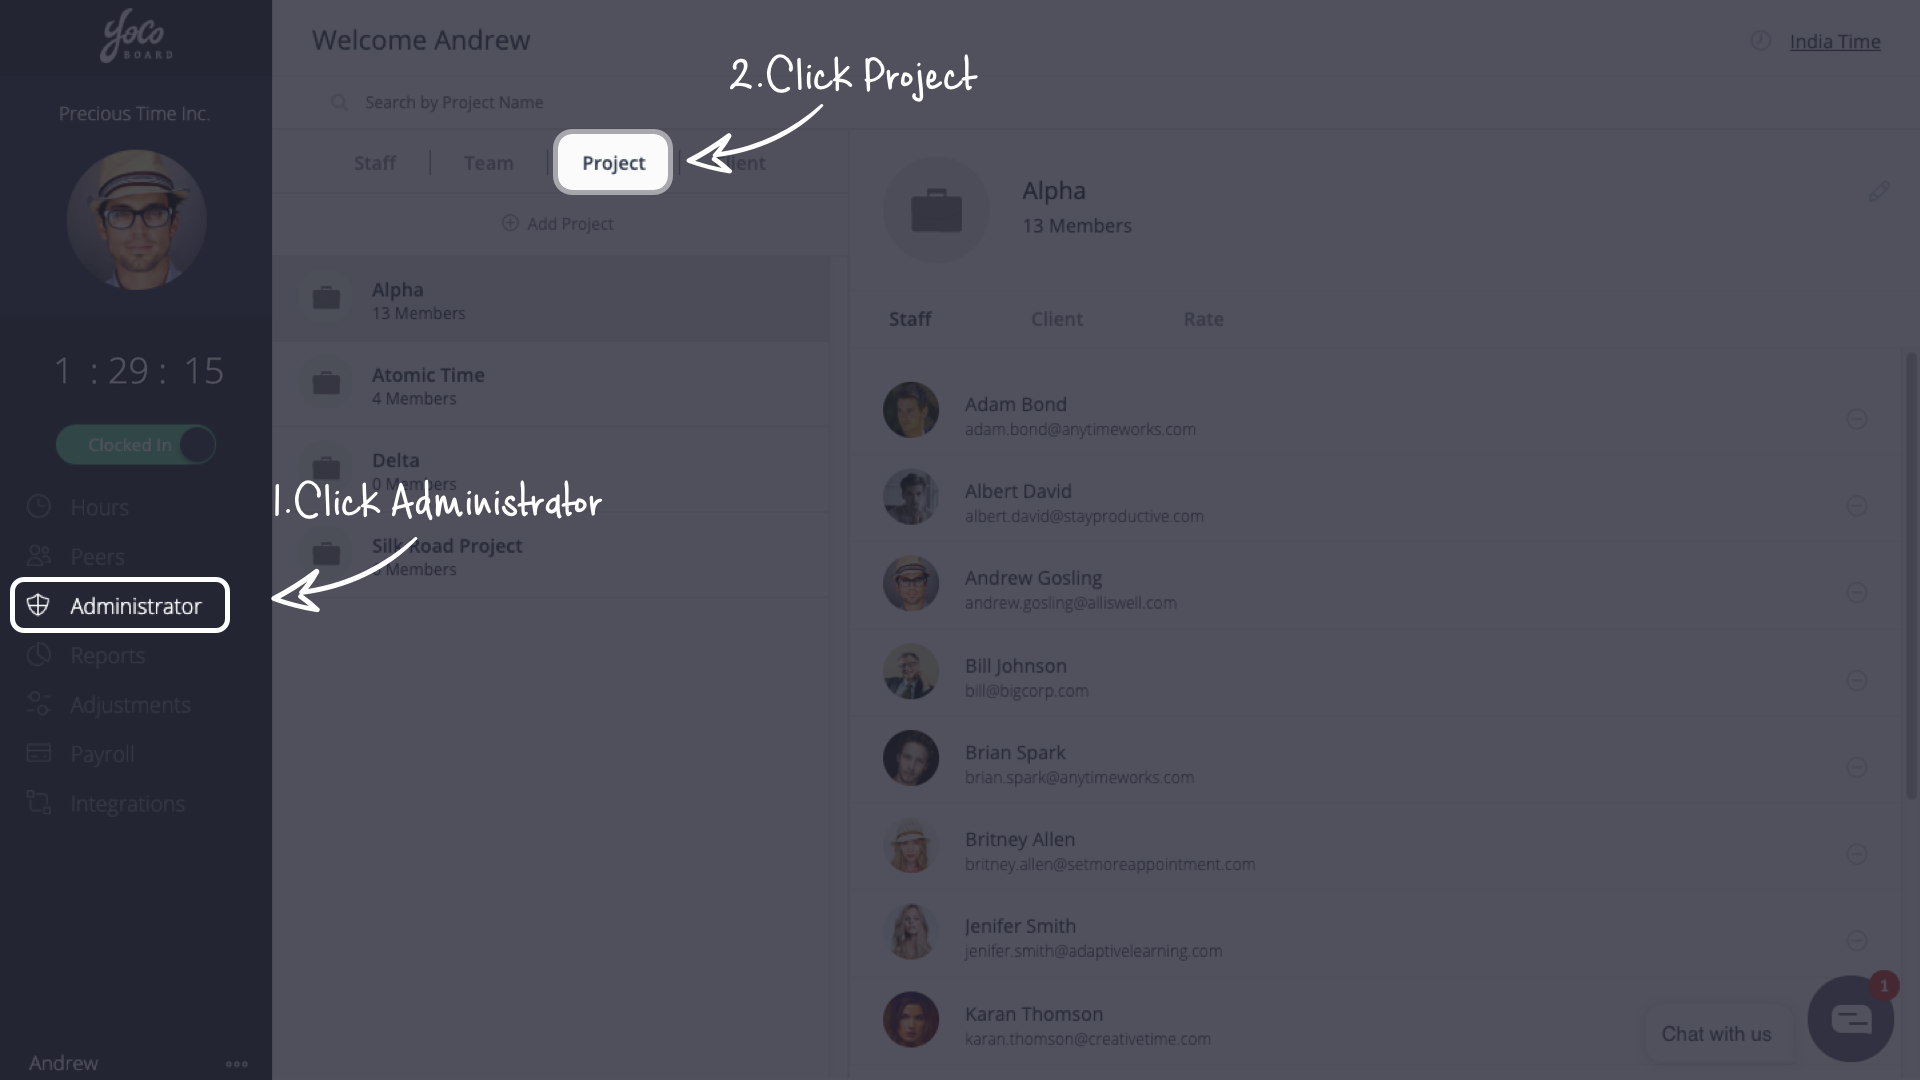
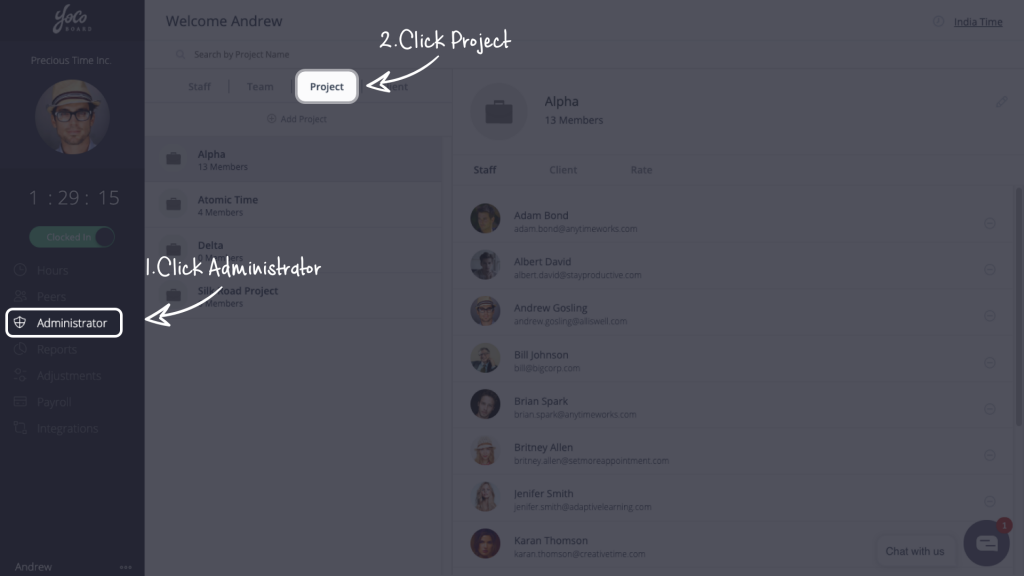
- On the YoCoBoard sidebar, click Administrator and select the Project tab.
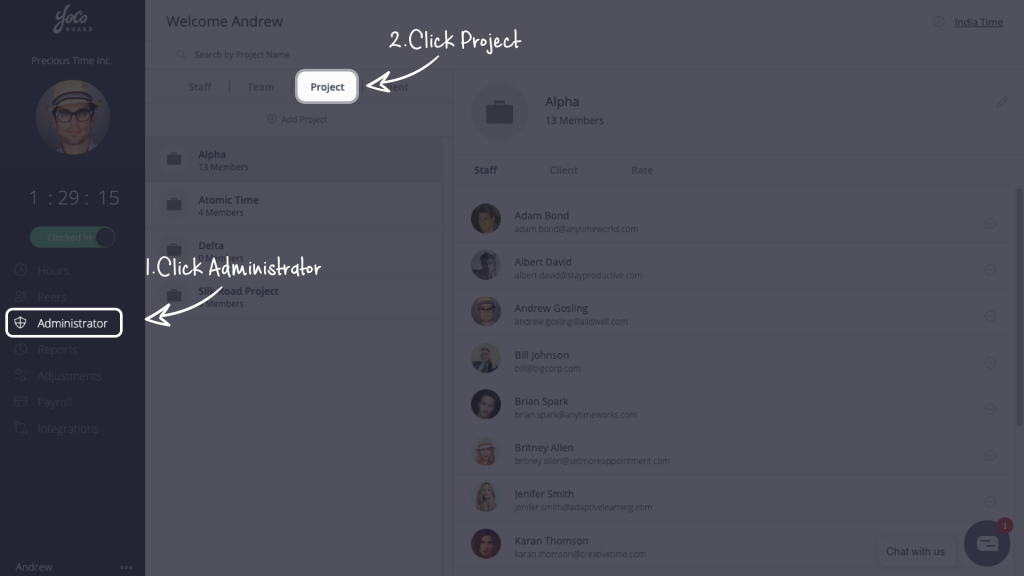
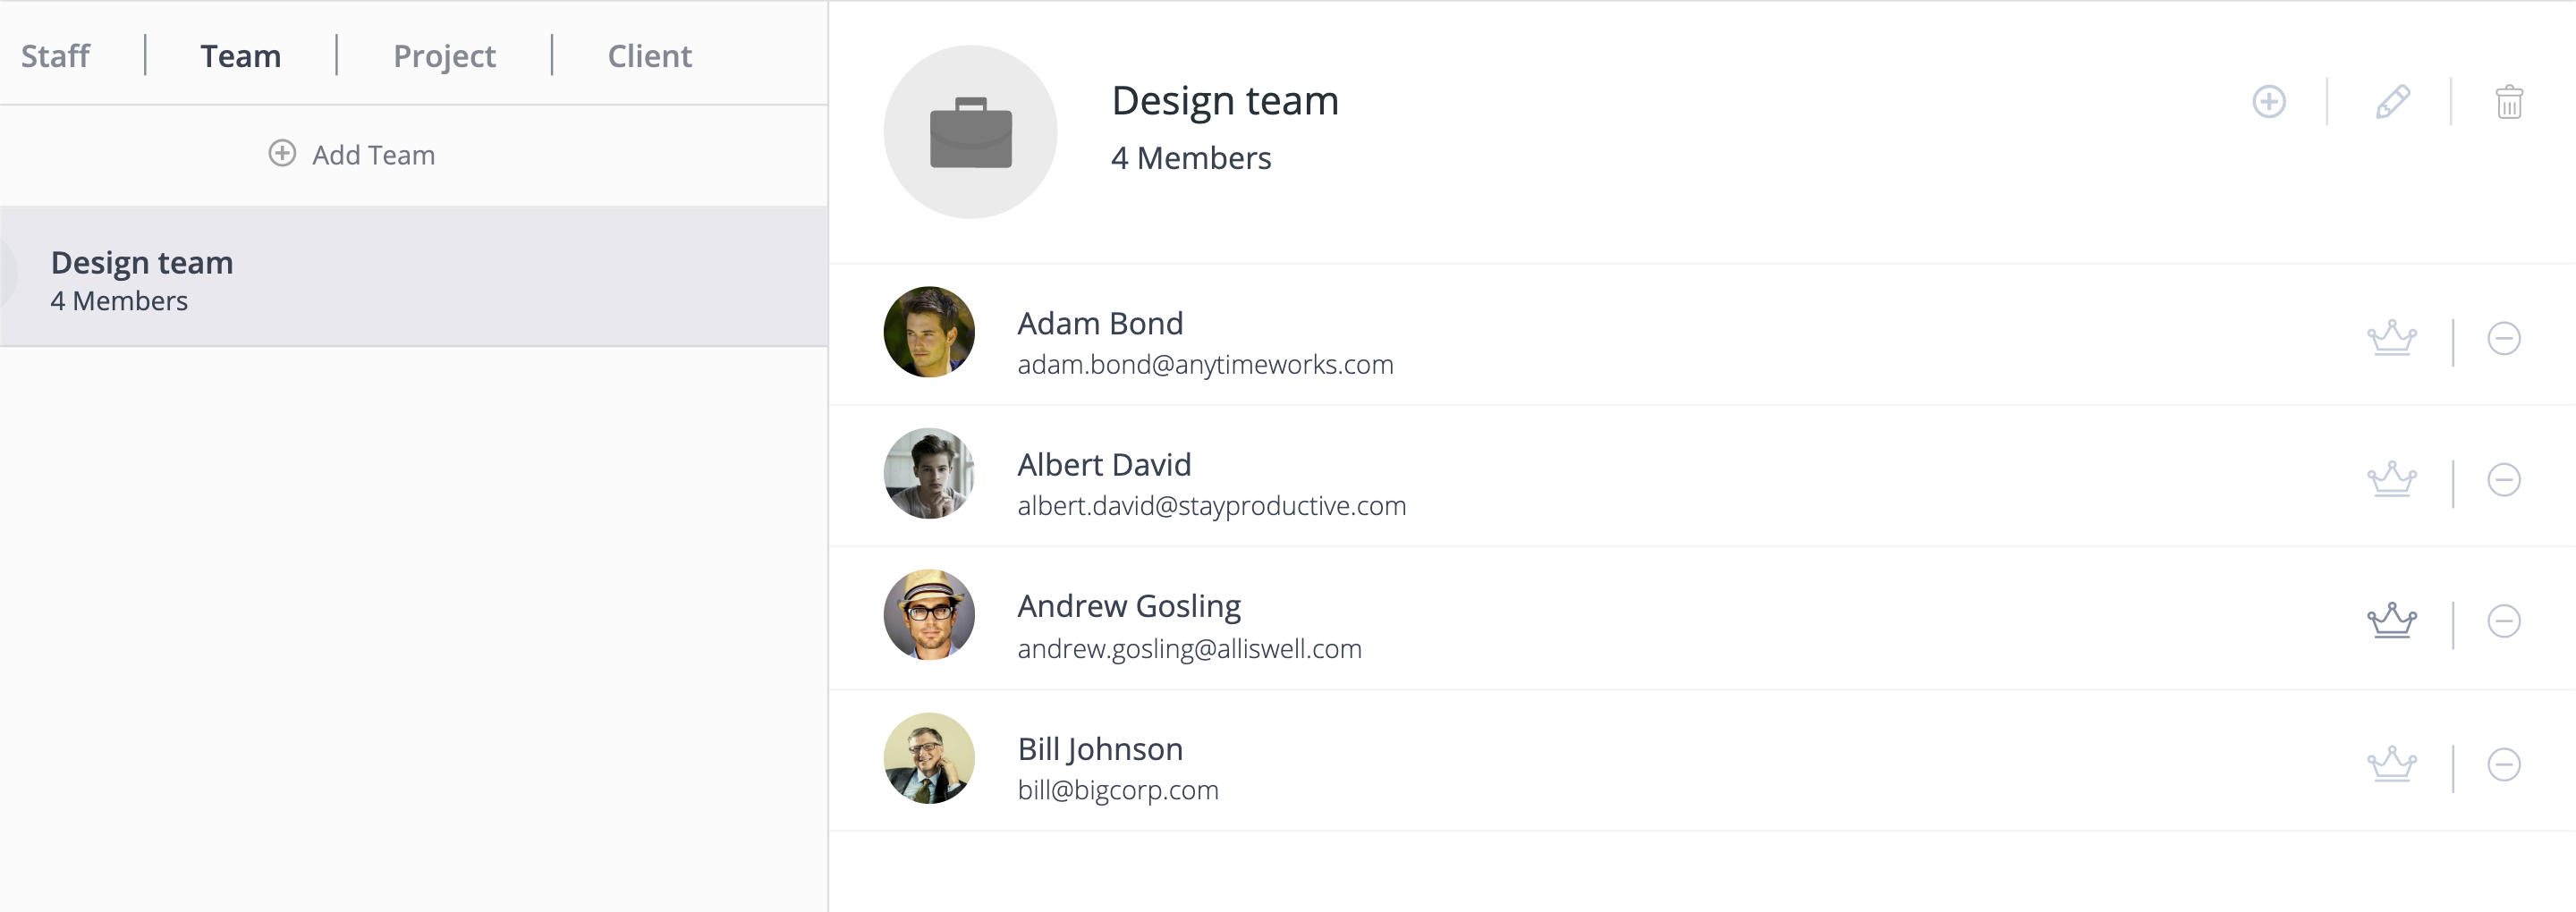
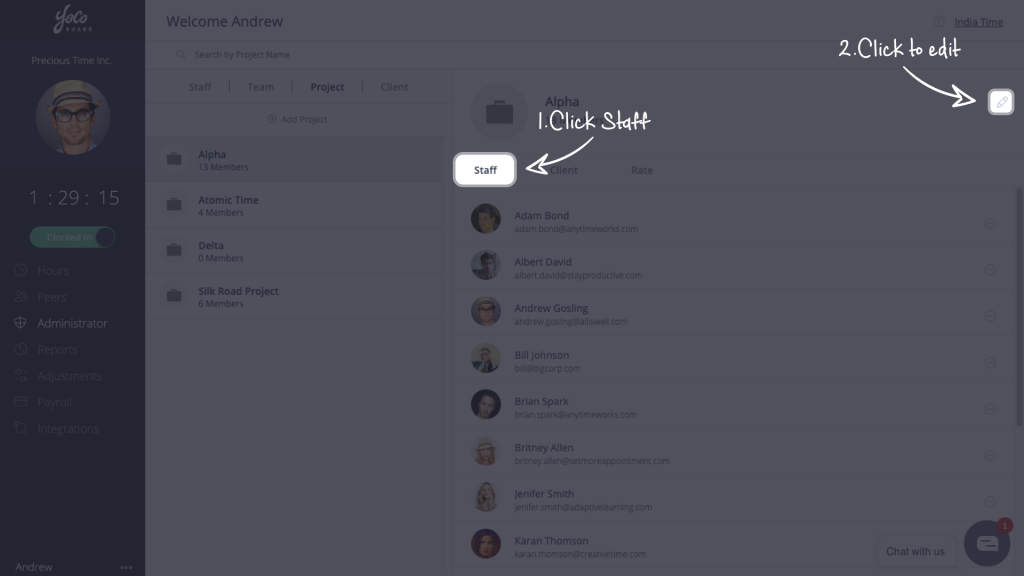
- Select a project from the list to view the project details. On the right pane, click the Staff tab and click the Edit ( pencil ) icon.
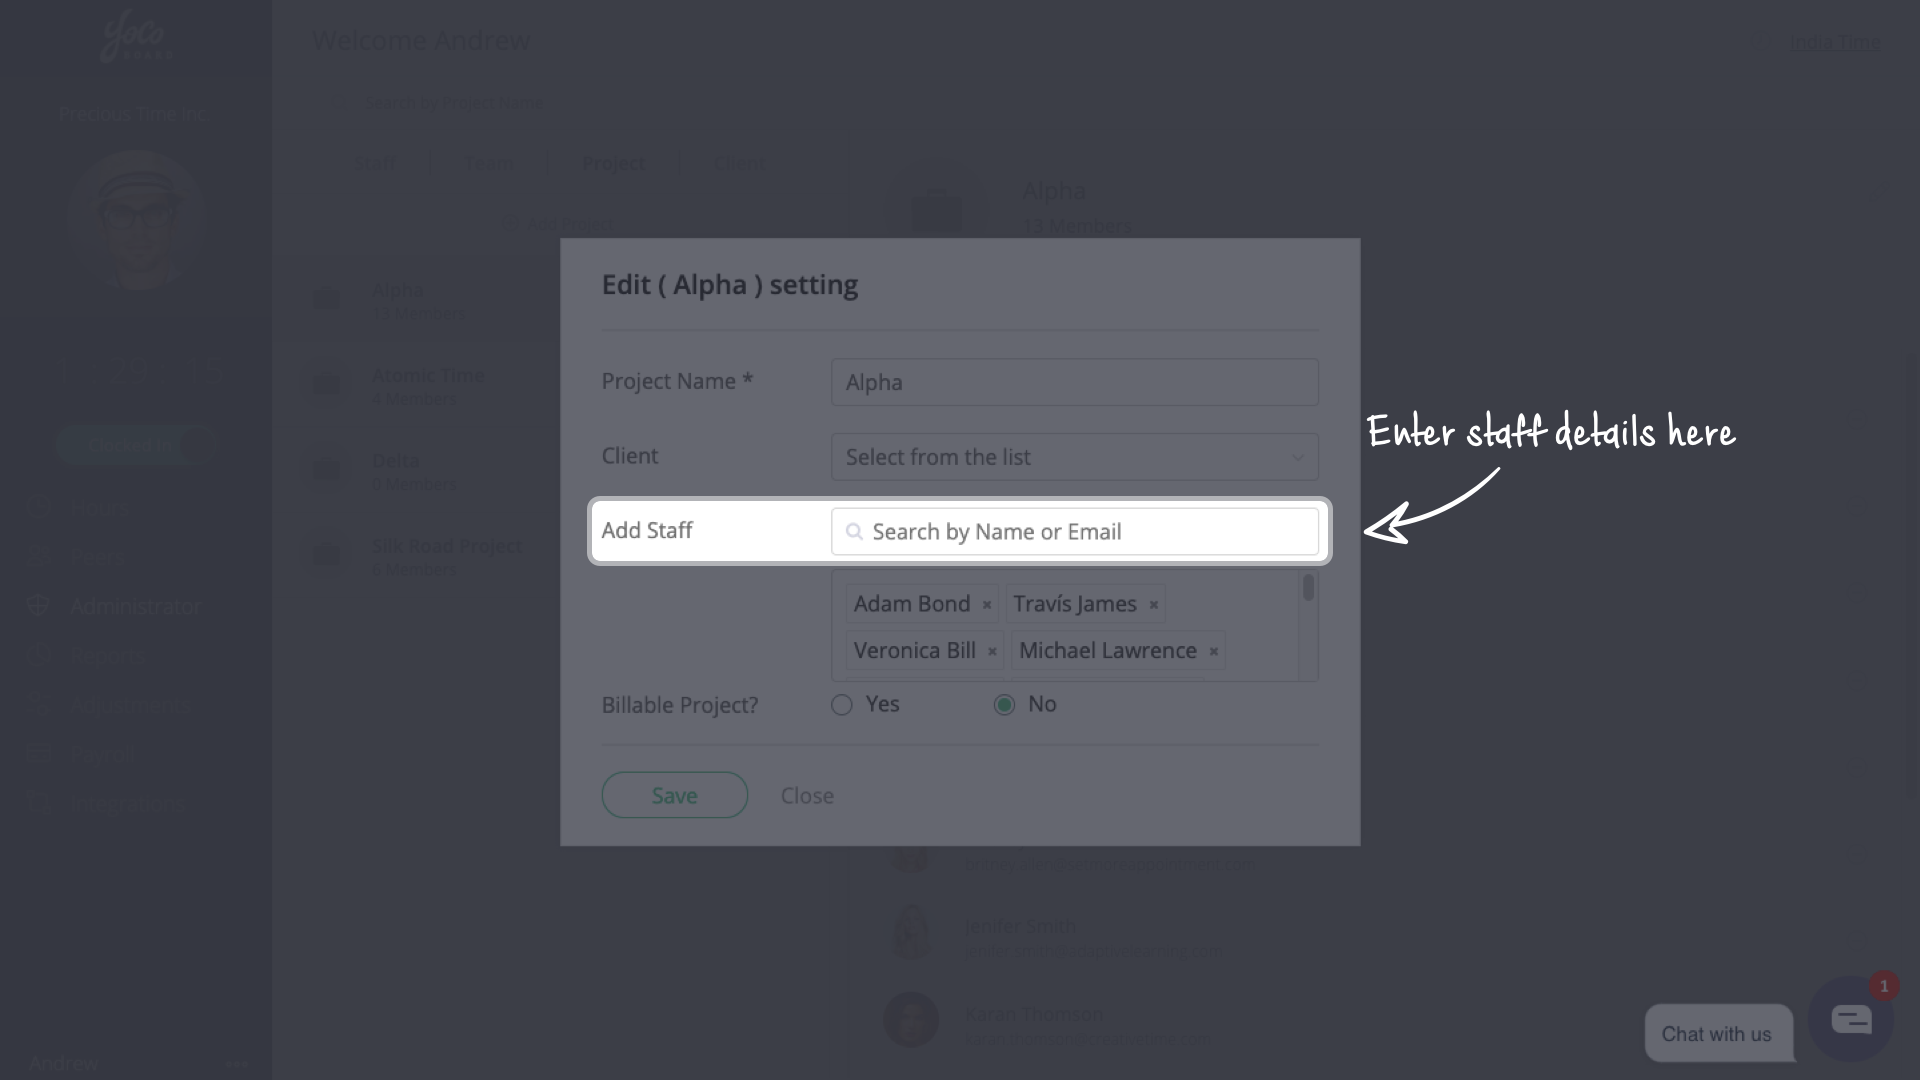
- On the pop-up, enter the name or email of the staff member to add that staff. Click the save button to confirm the changes.


1.2 How to remove staff from project
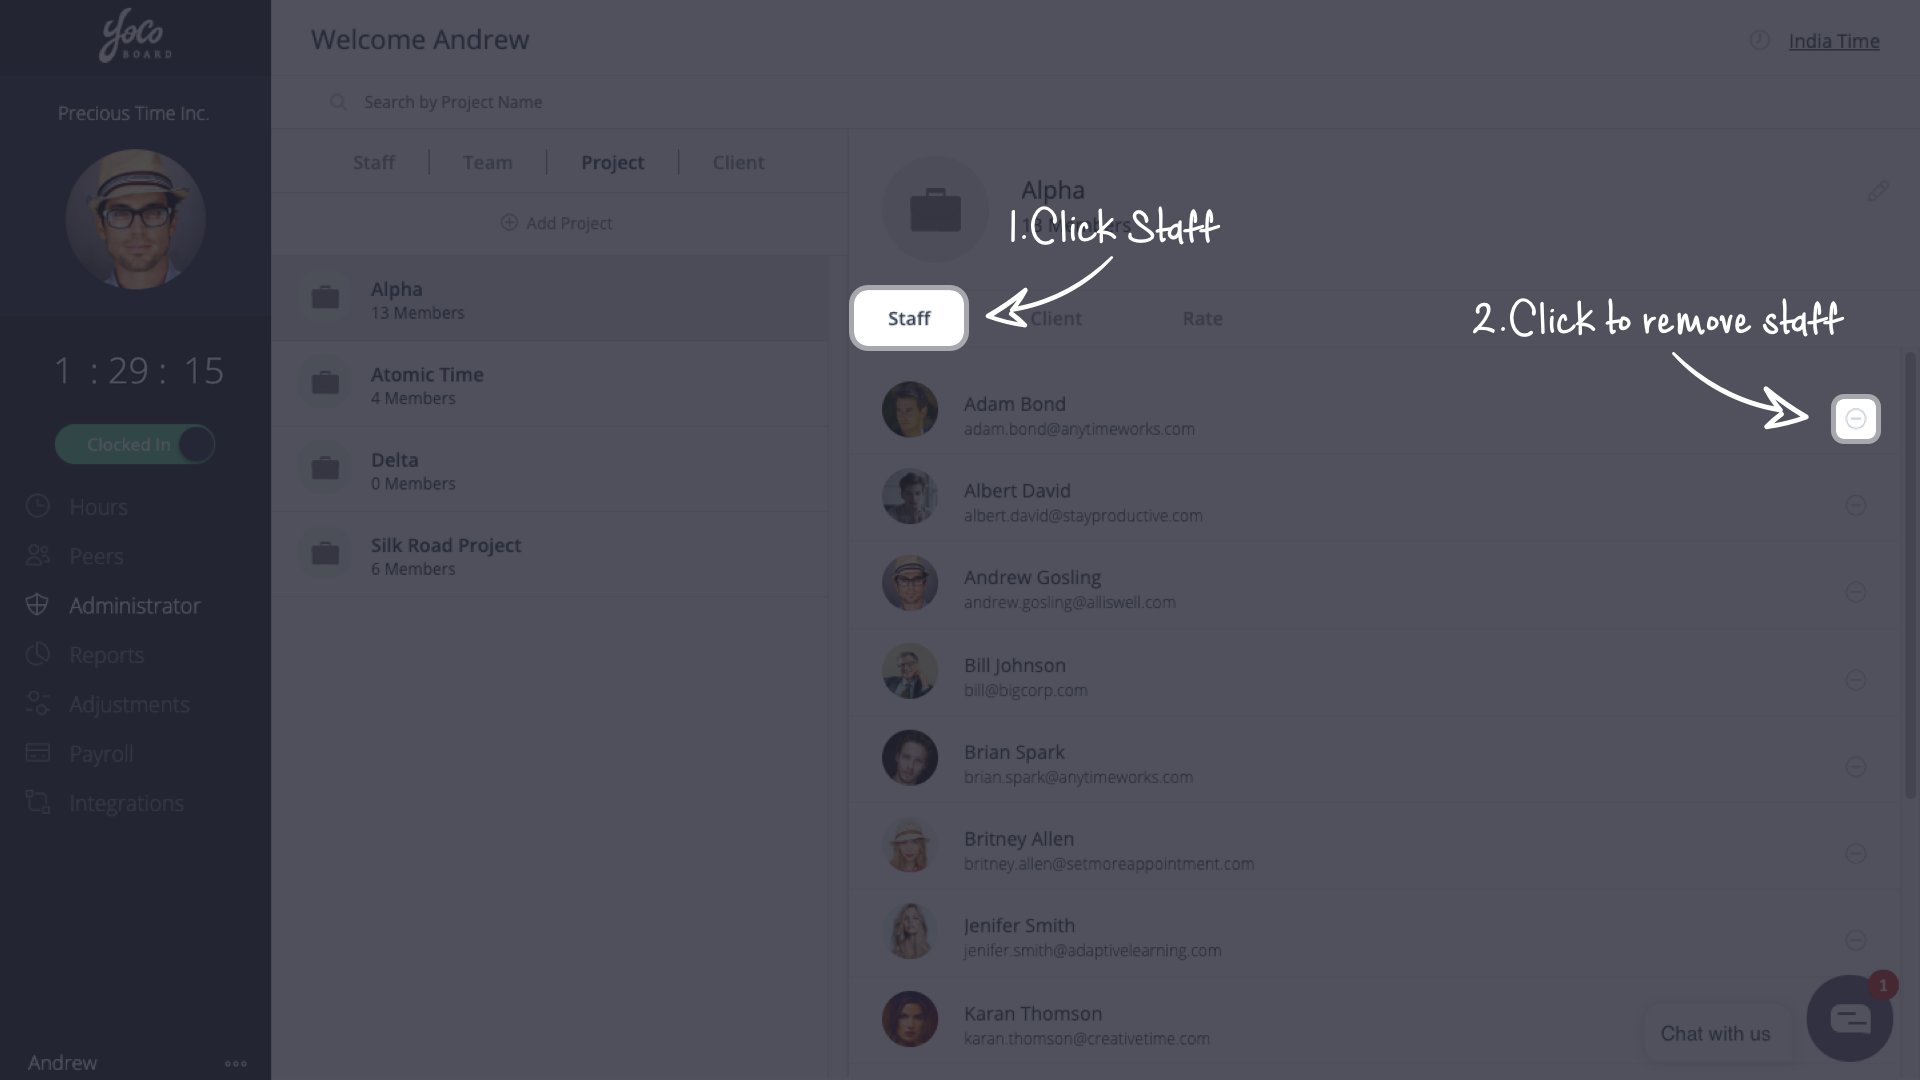
- On the YoCoBoard sidebar, click Administrator and select the Project tab.
- Choose a project from the list to view its details. On the right pane, choose the Staff tab and click the Remove ( minus ) icon for the staff you want to remove from the project.


Note: If you remove a staff that was clocked in, they will be clocked out of that project immediately.