Assign & Manage from Team Tab
Your company structure and hierarchy could be replicated on YoCoBoard. Staff members can be assigned to Teams based on their location (in case of Distributed Teams) or projects. Further, a team leader can be assigned to manage a team relieving the Super Admin of some workload.
A YoCoBoard account (company) can have unlimited teams and a team can have unlimited staff members. Every team will be managed by its Team Owner (Team Leader). To know how to create a Team Owner, click here.
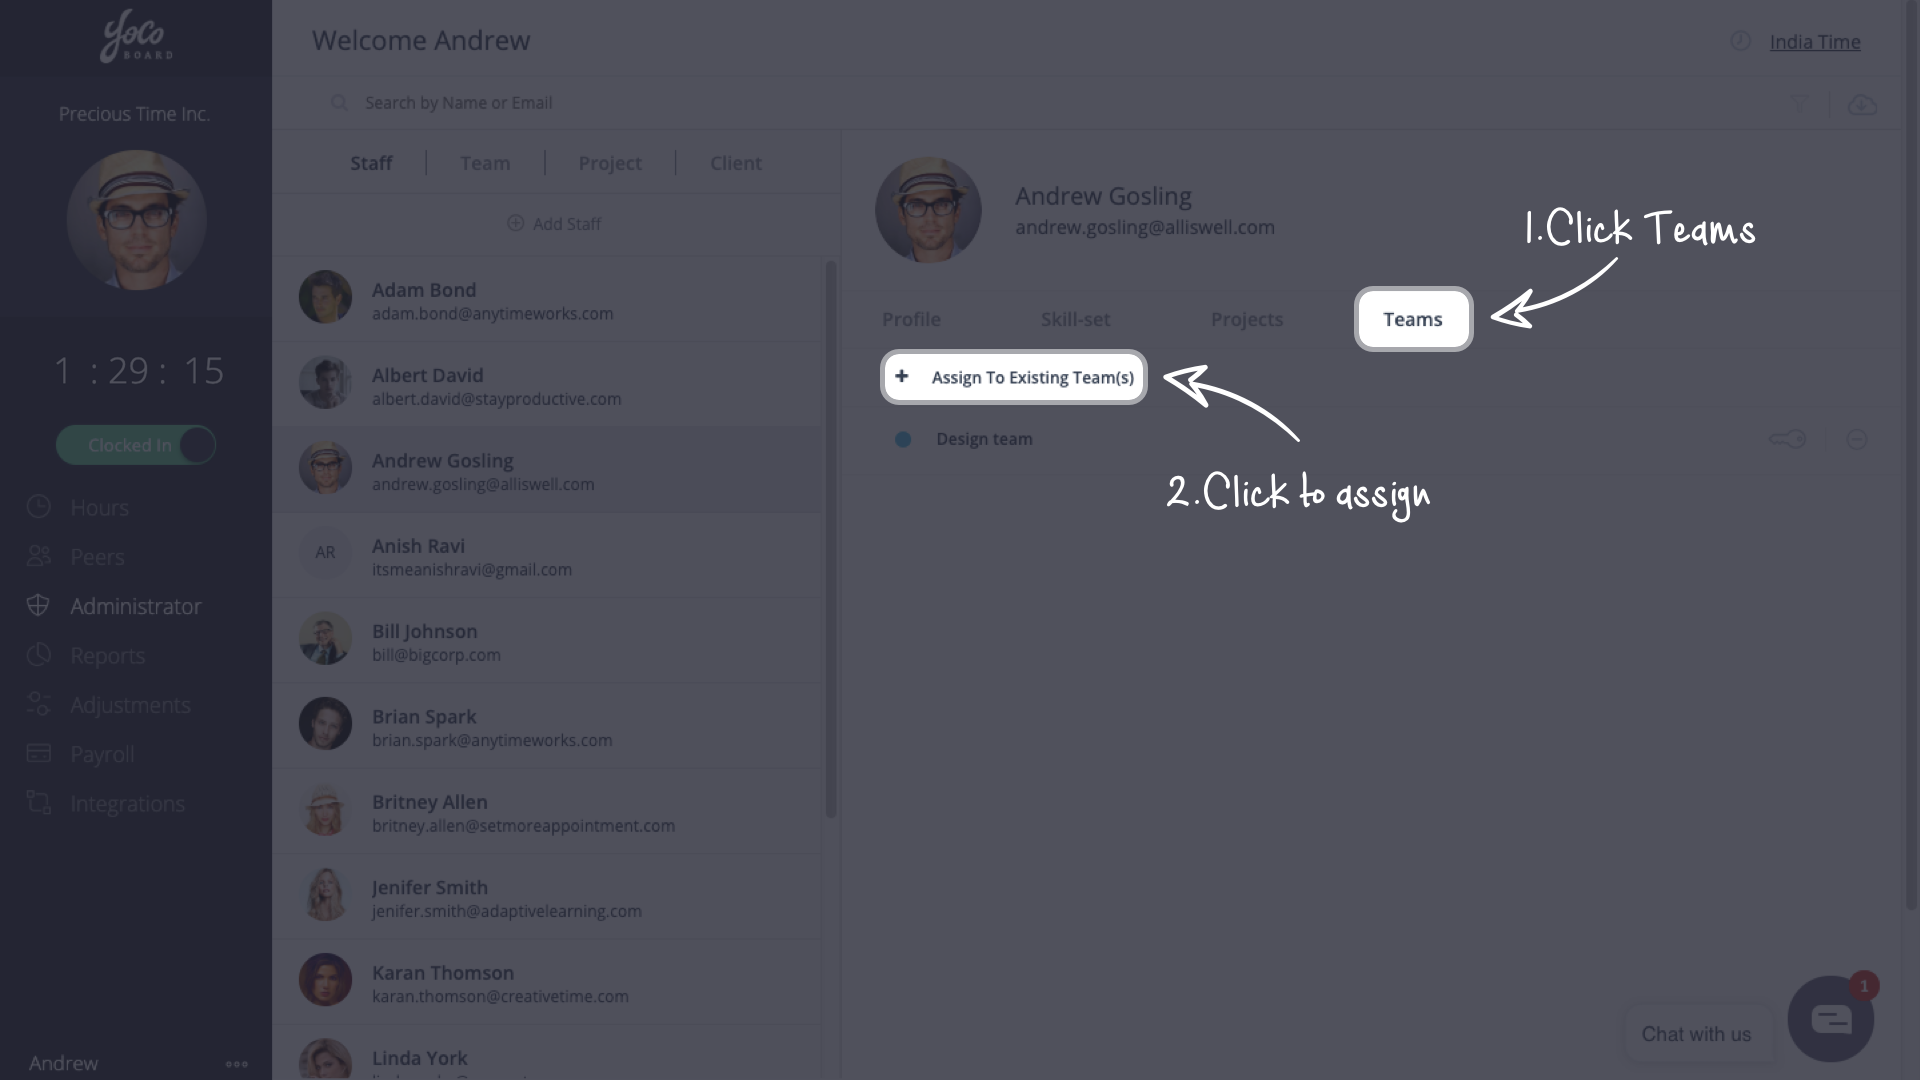
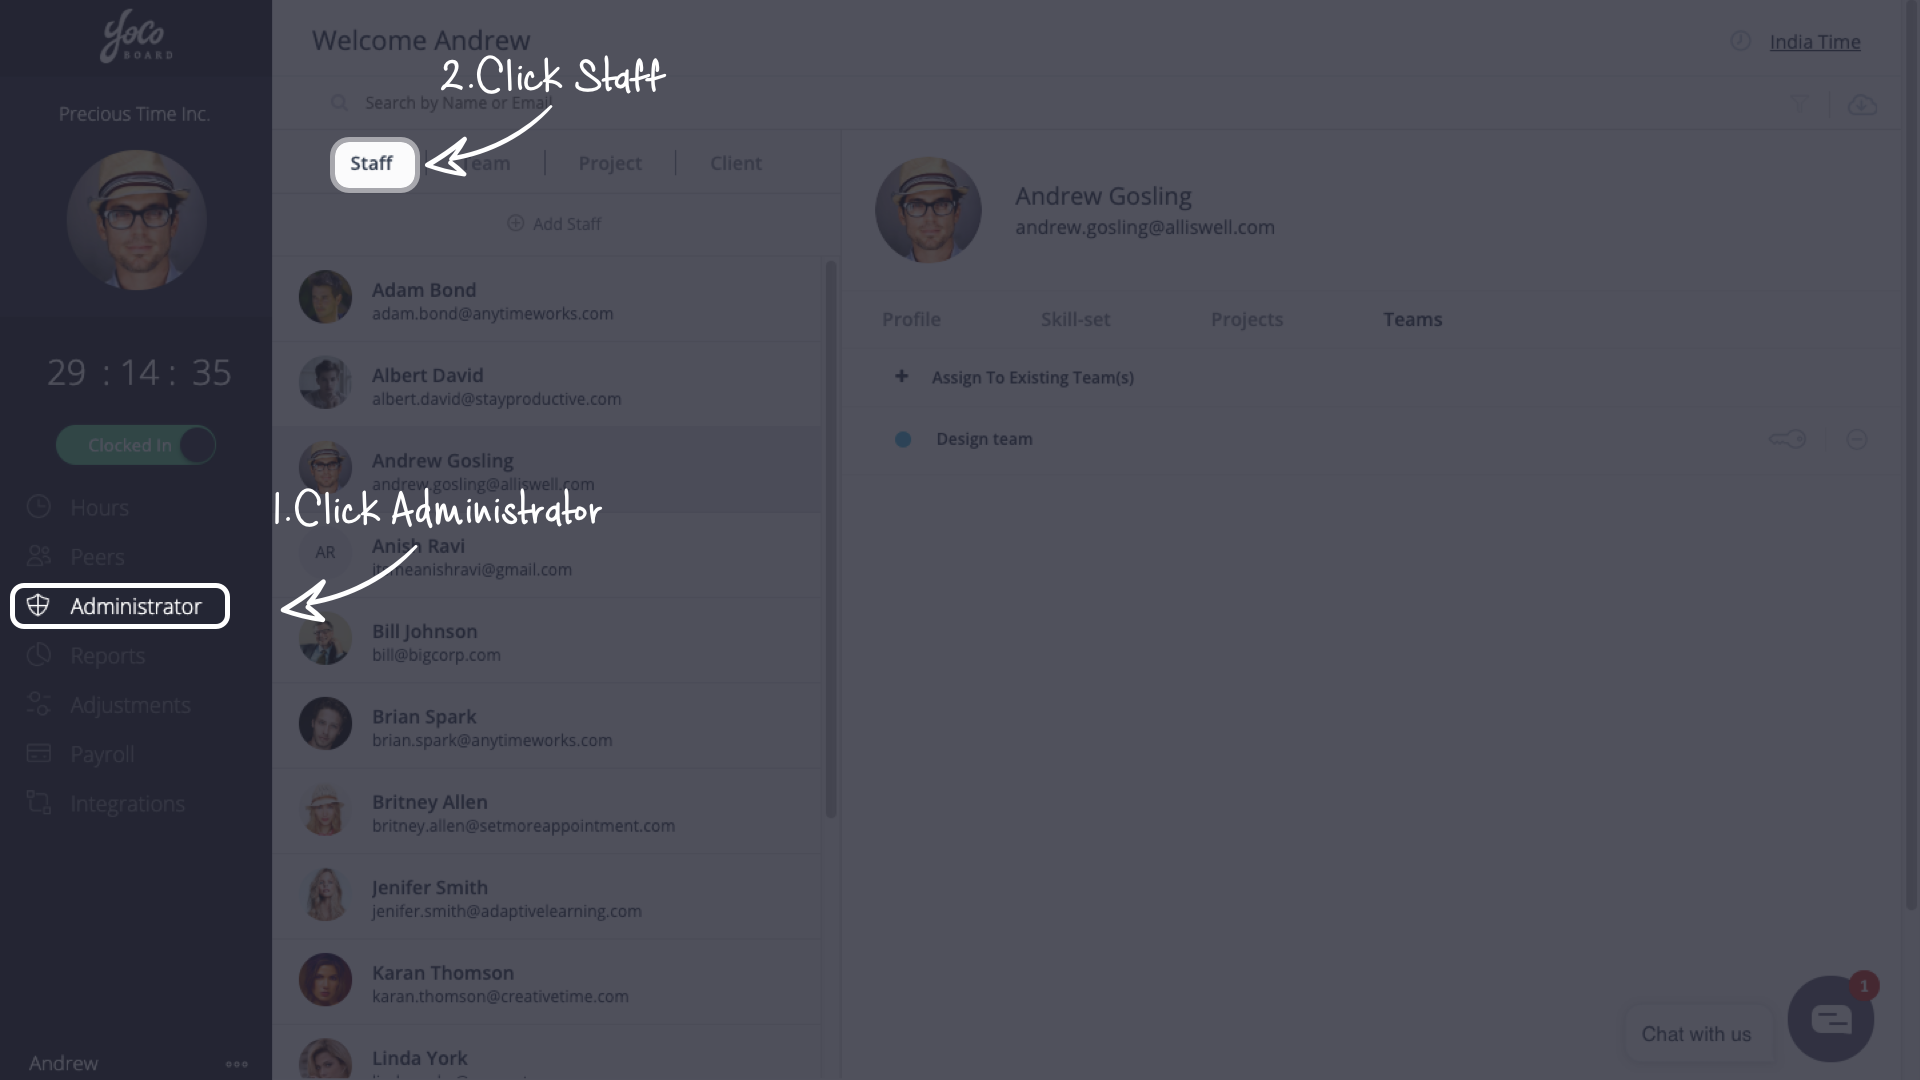
You can also assign a staff member to a team under the Staff tab. To know more, click here.
1.1 Creating a new team & add staff
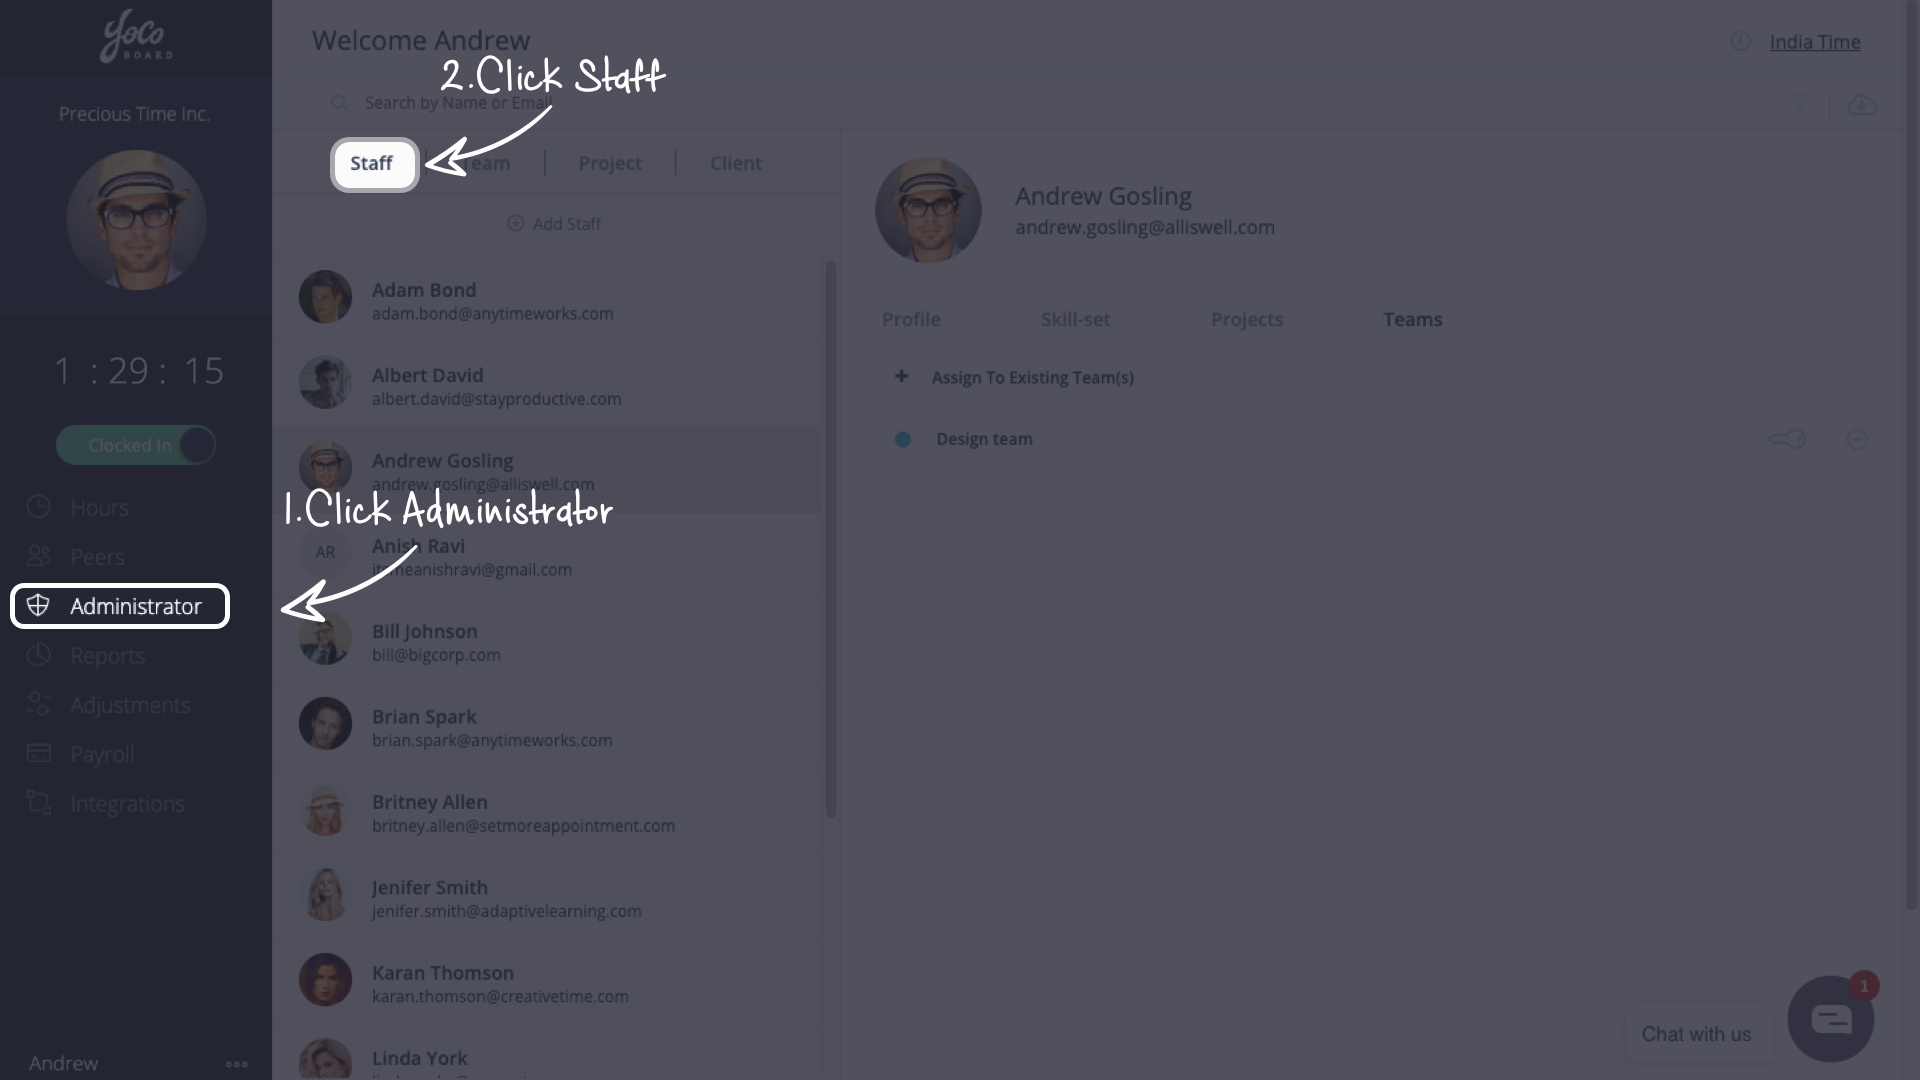
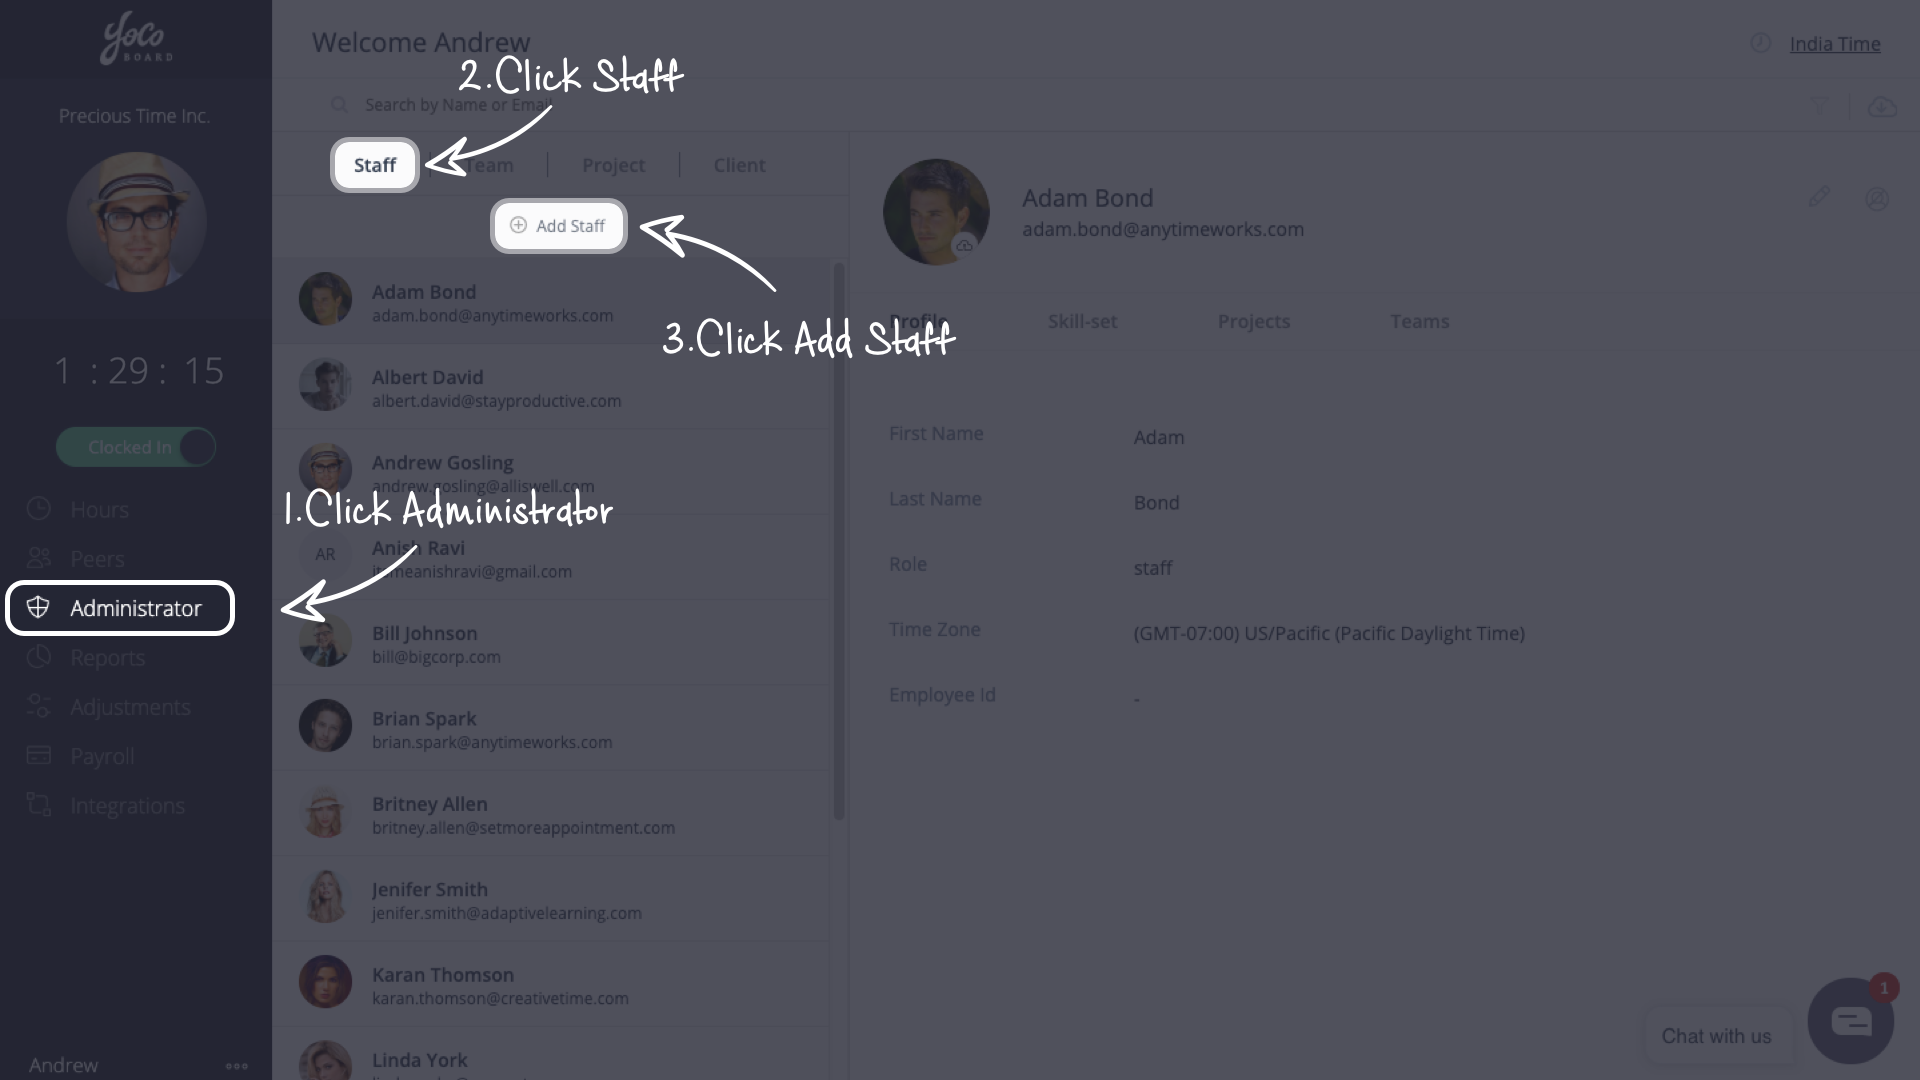
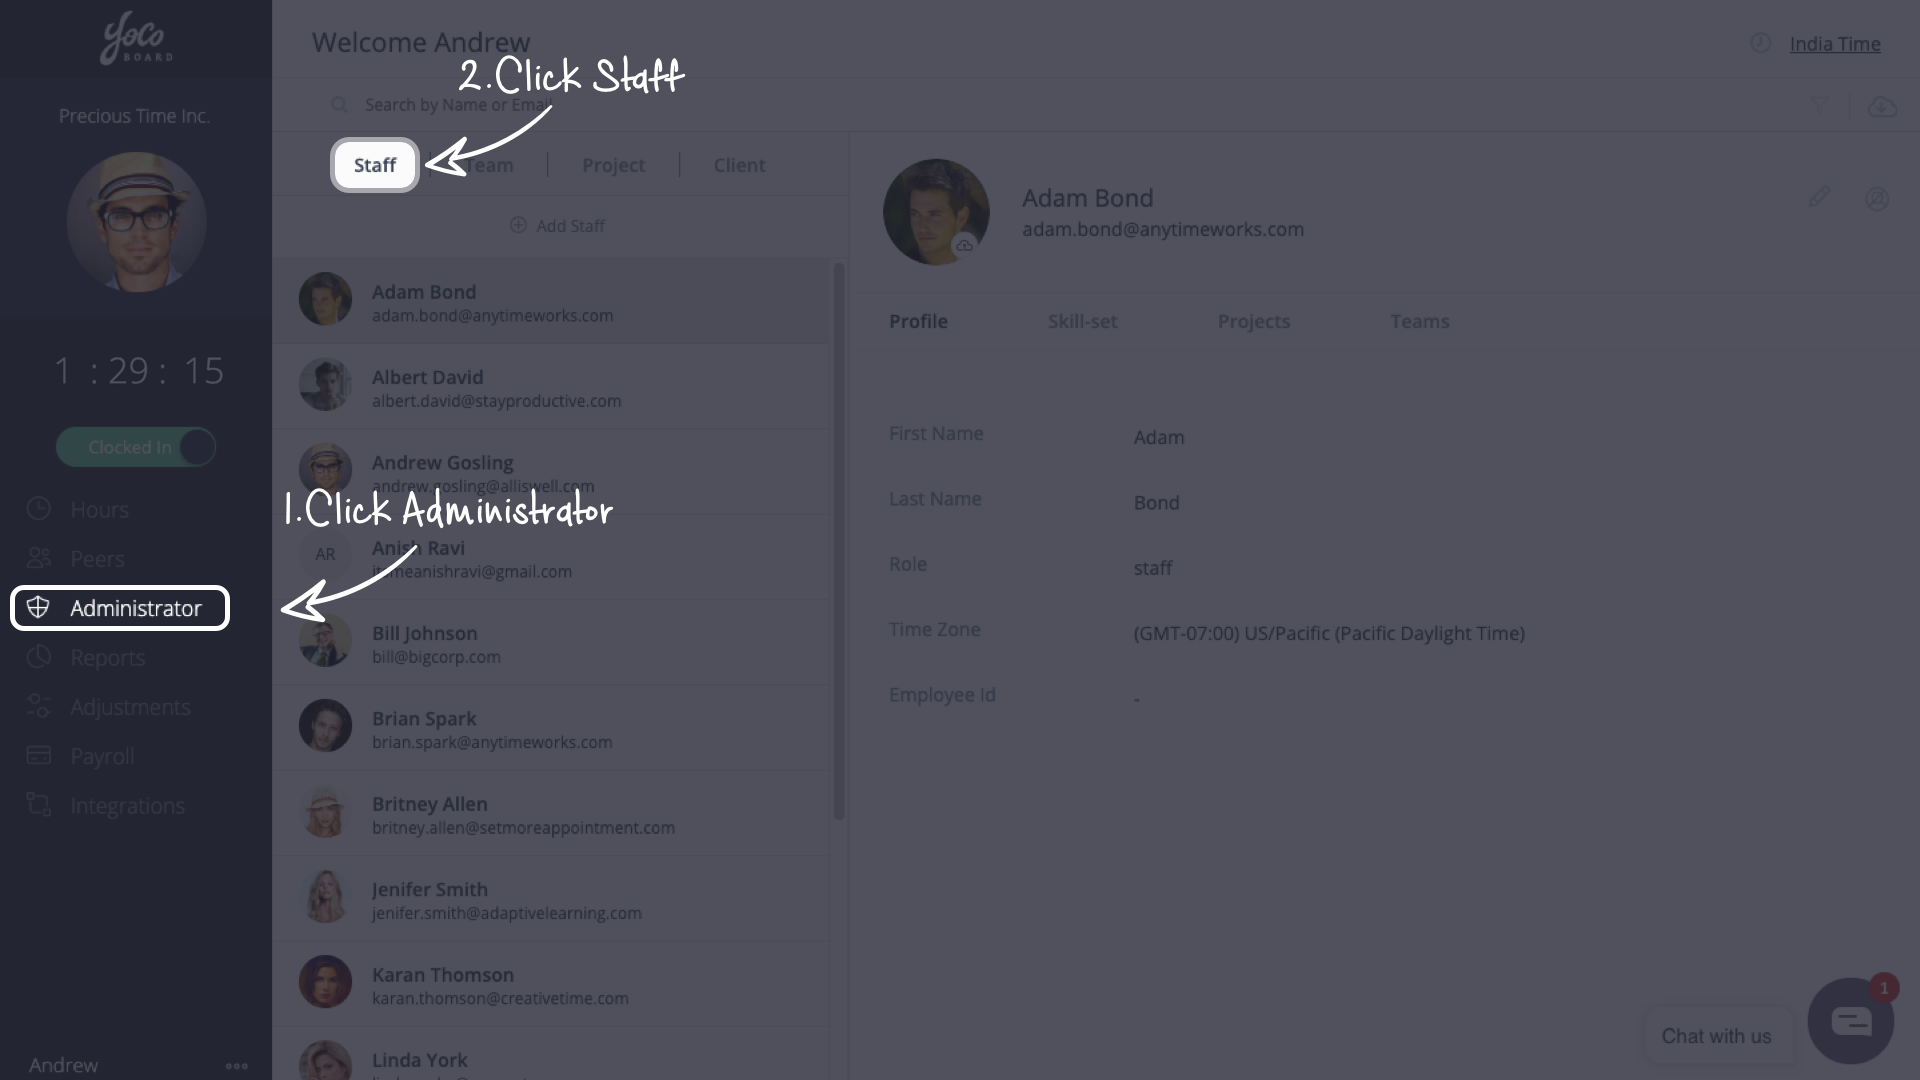
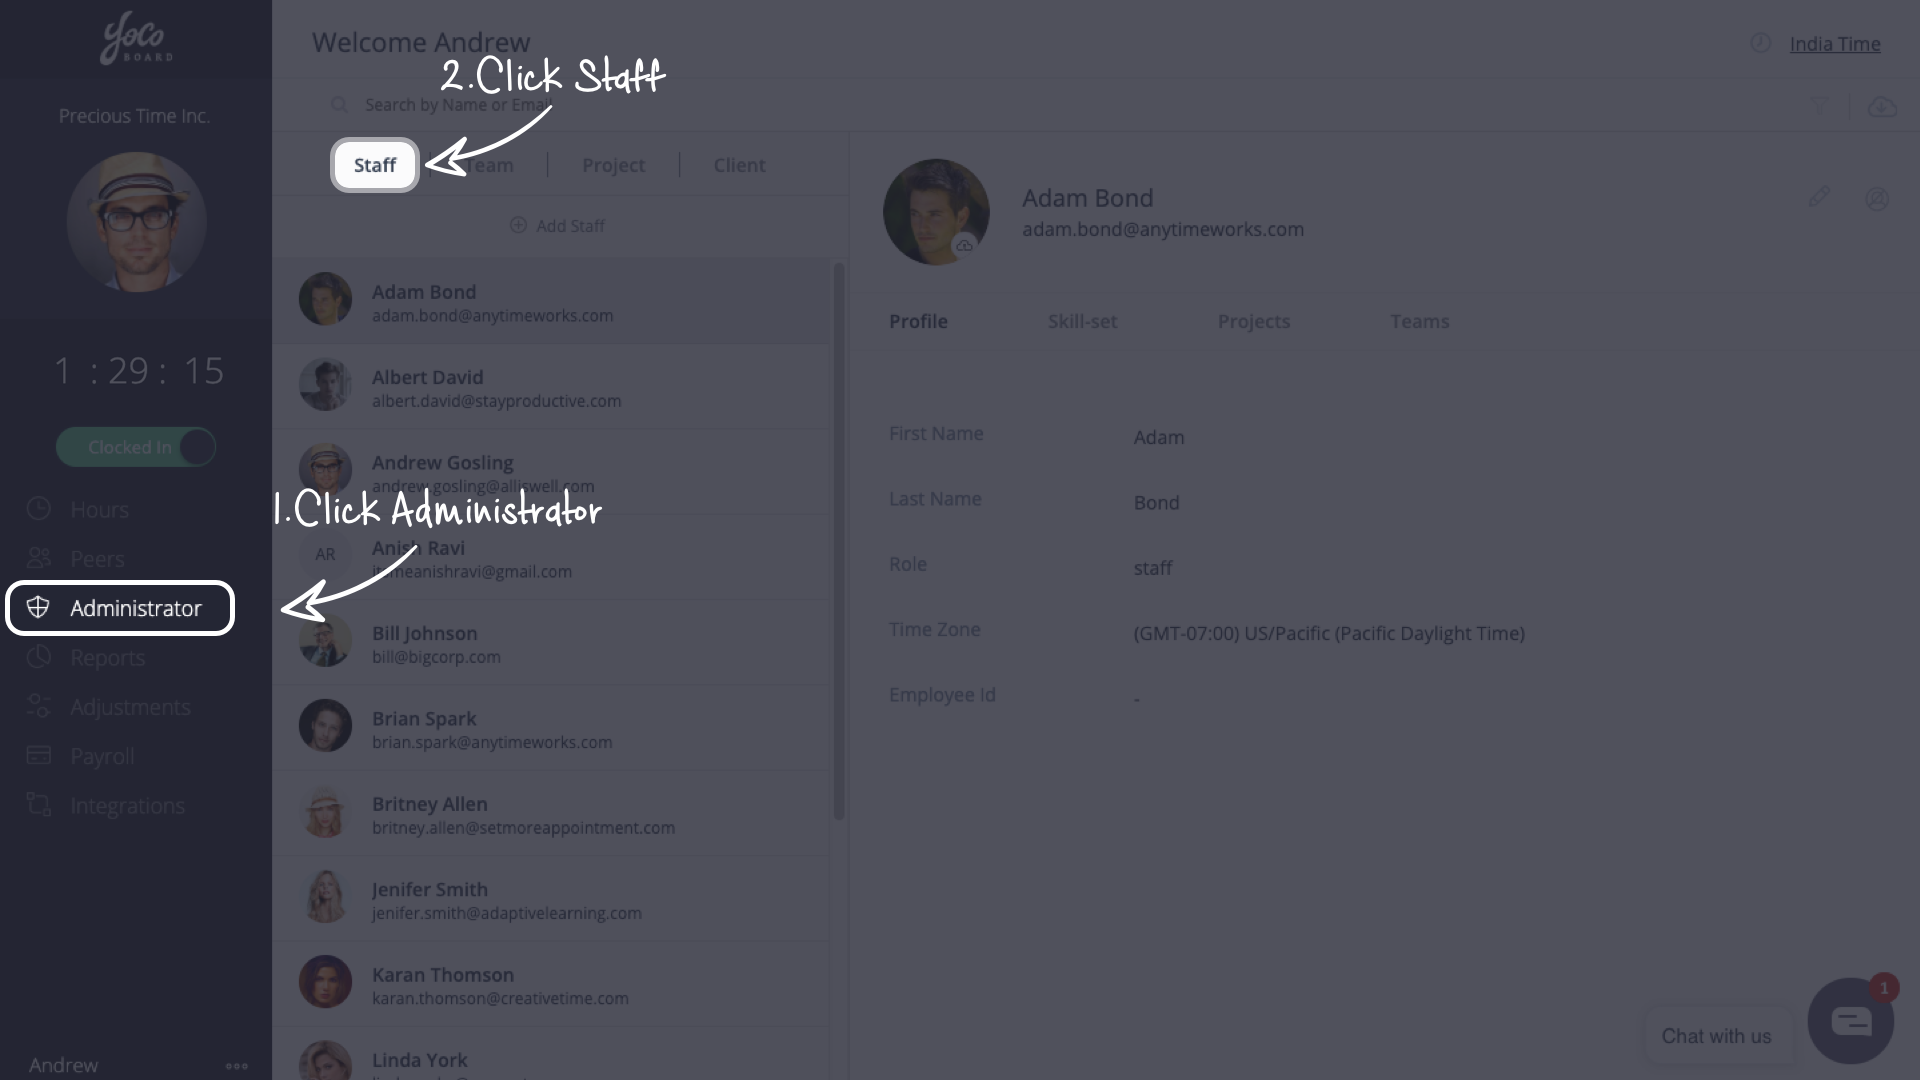
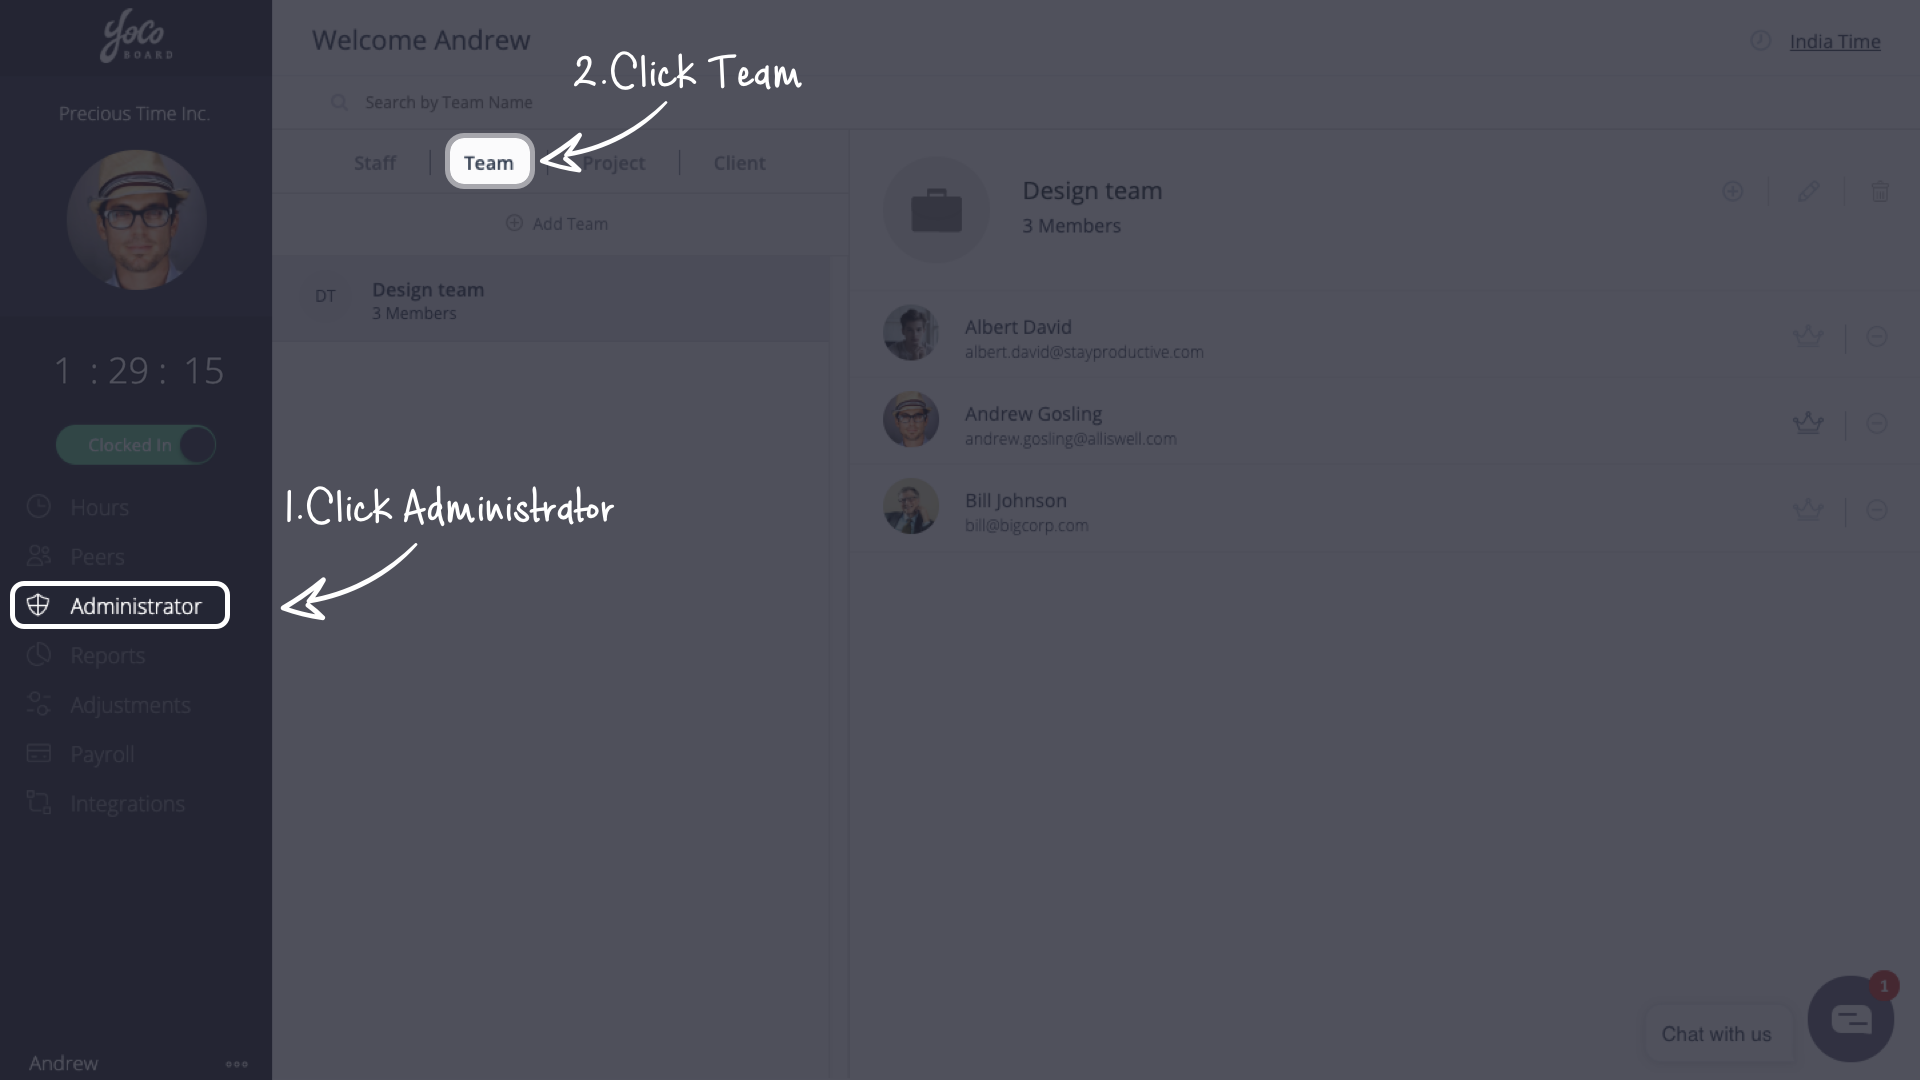
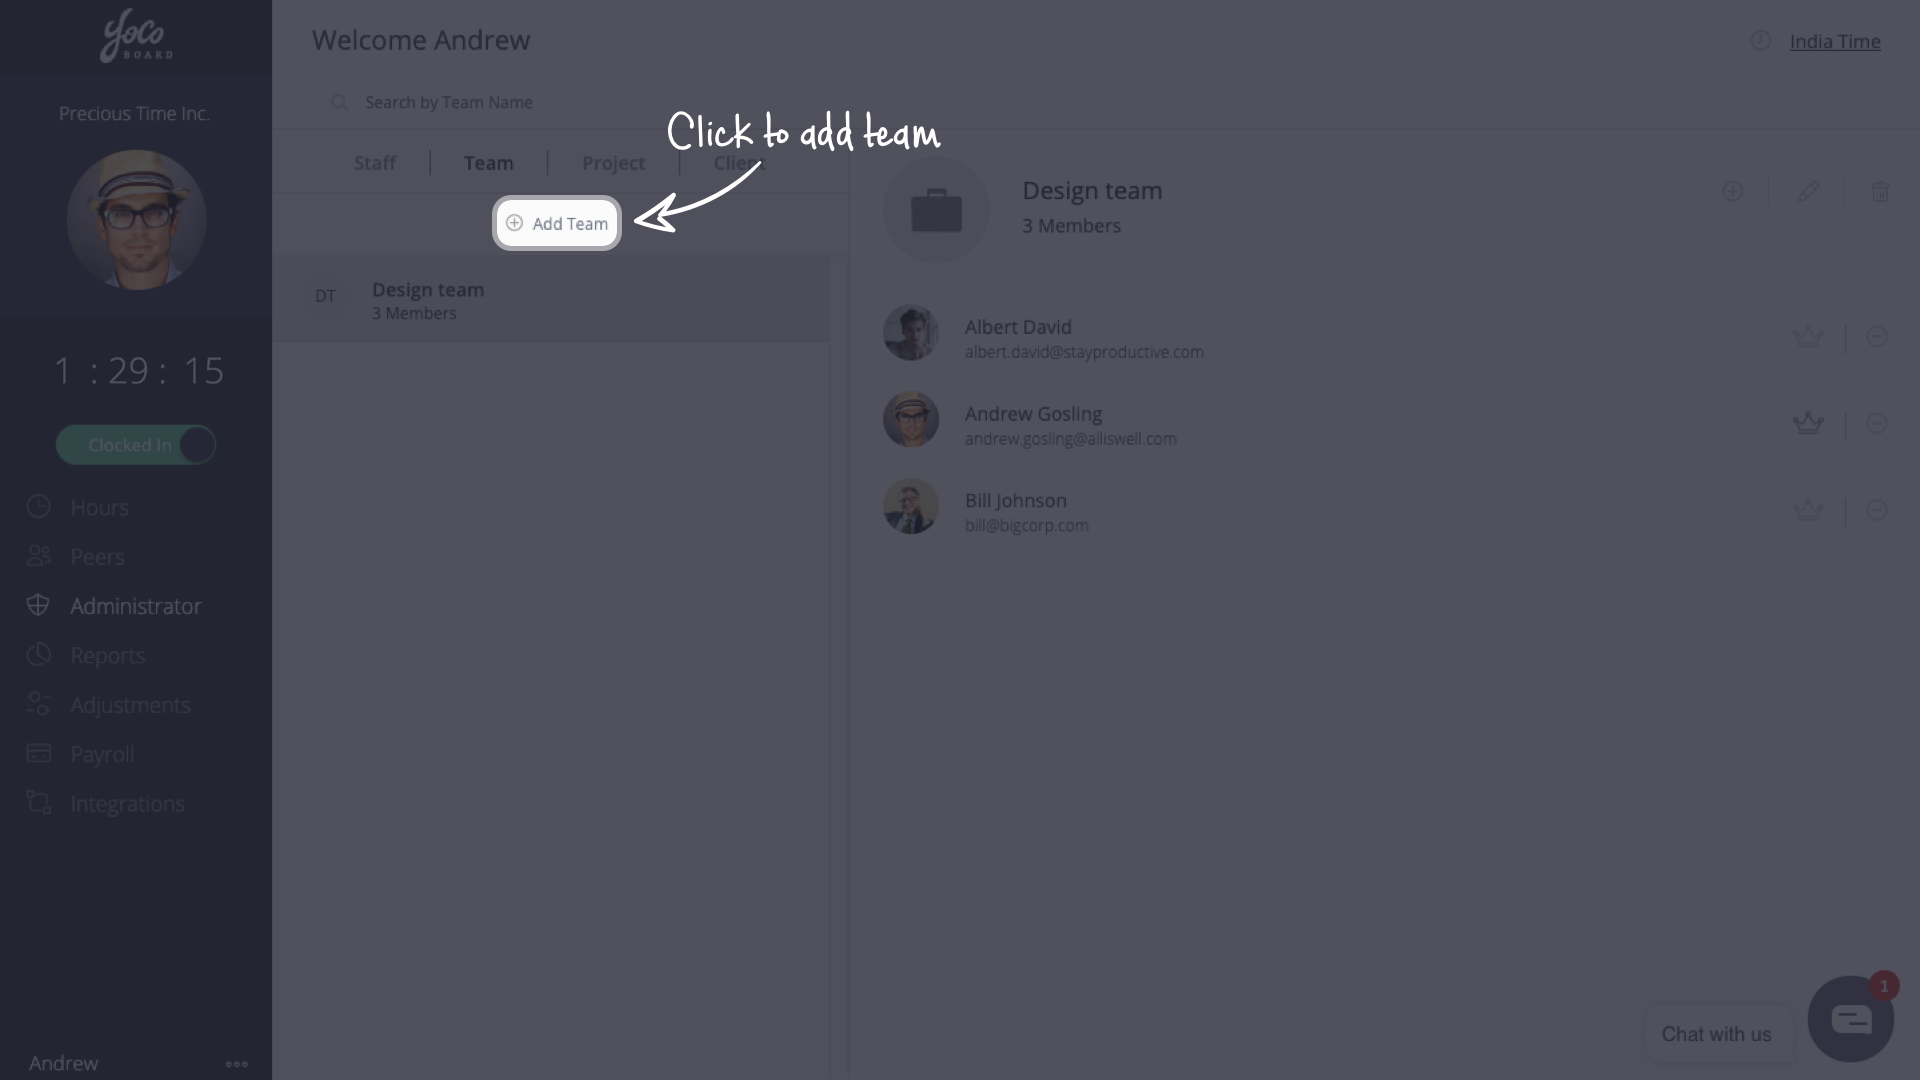
- On the YoCoBoard sidebar, click Administrator and select Team tab.

- Click Add Team to create a new team.

- On the pop-up, enter a new team name, check the box next to a staff member’s name to include them in the team. Click the Save button to confirm changes.

Note: You can add up to 20 staff to a team per instance. To add more, just repeat the procedure.

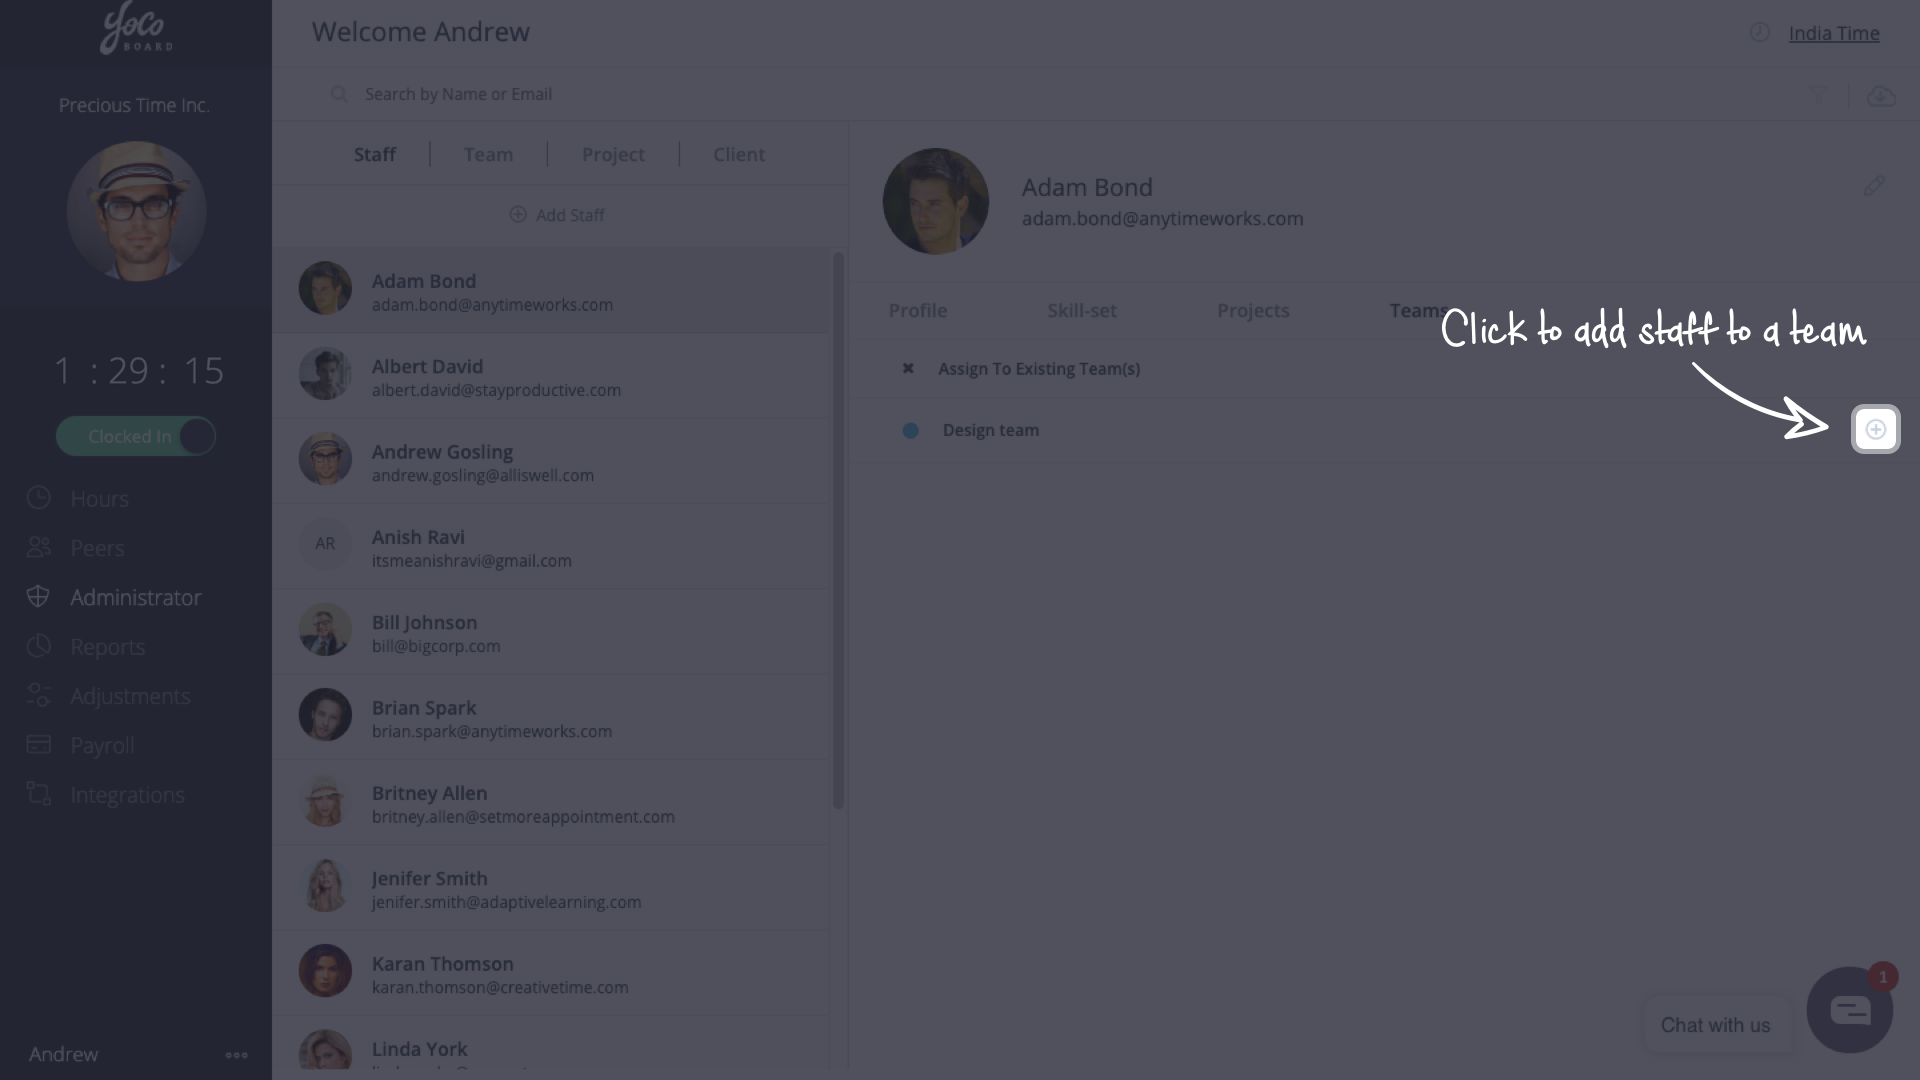
1.2 Adding staff to an existing team
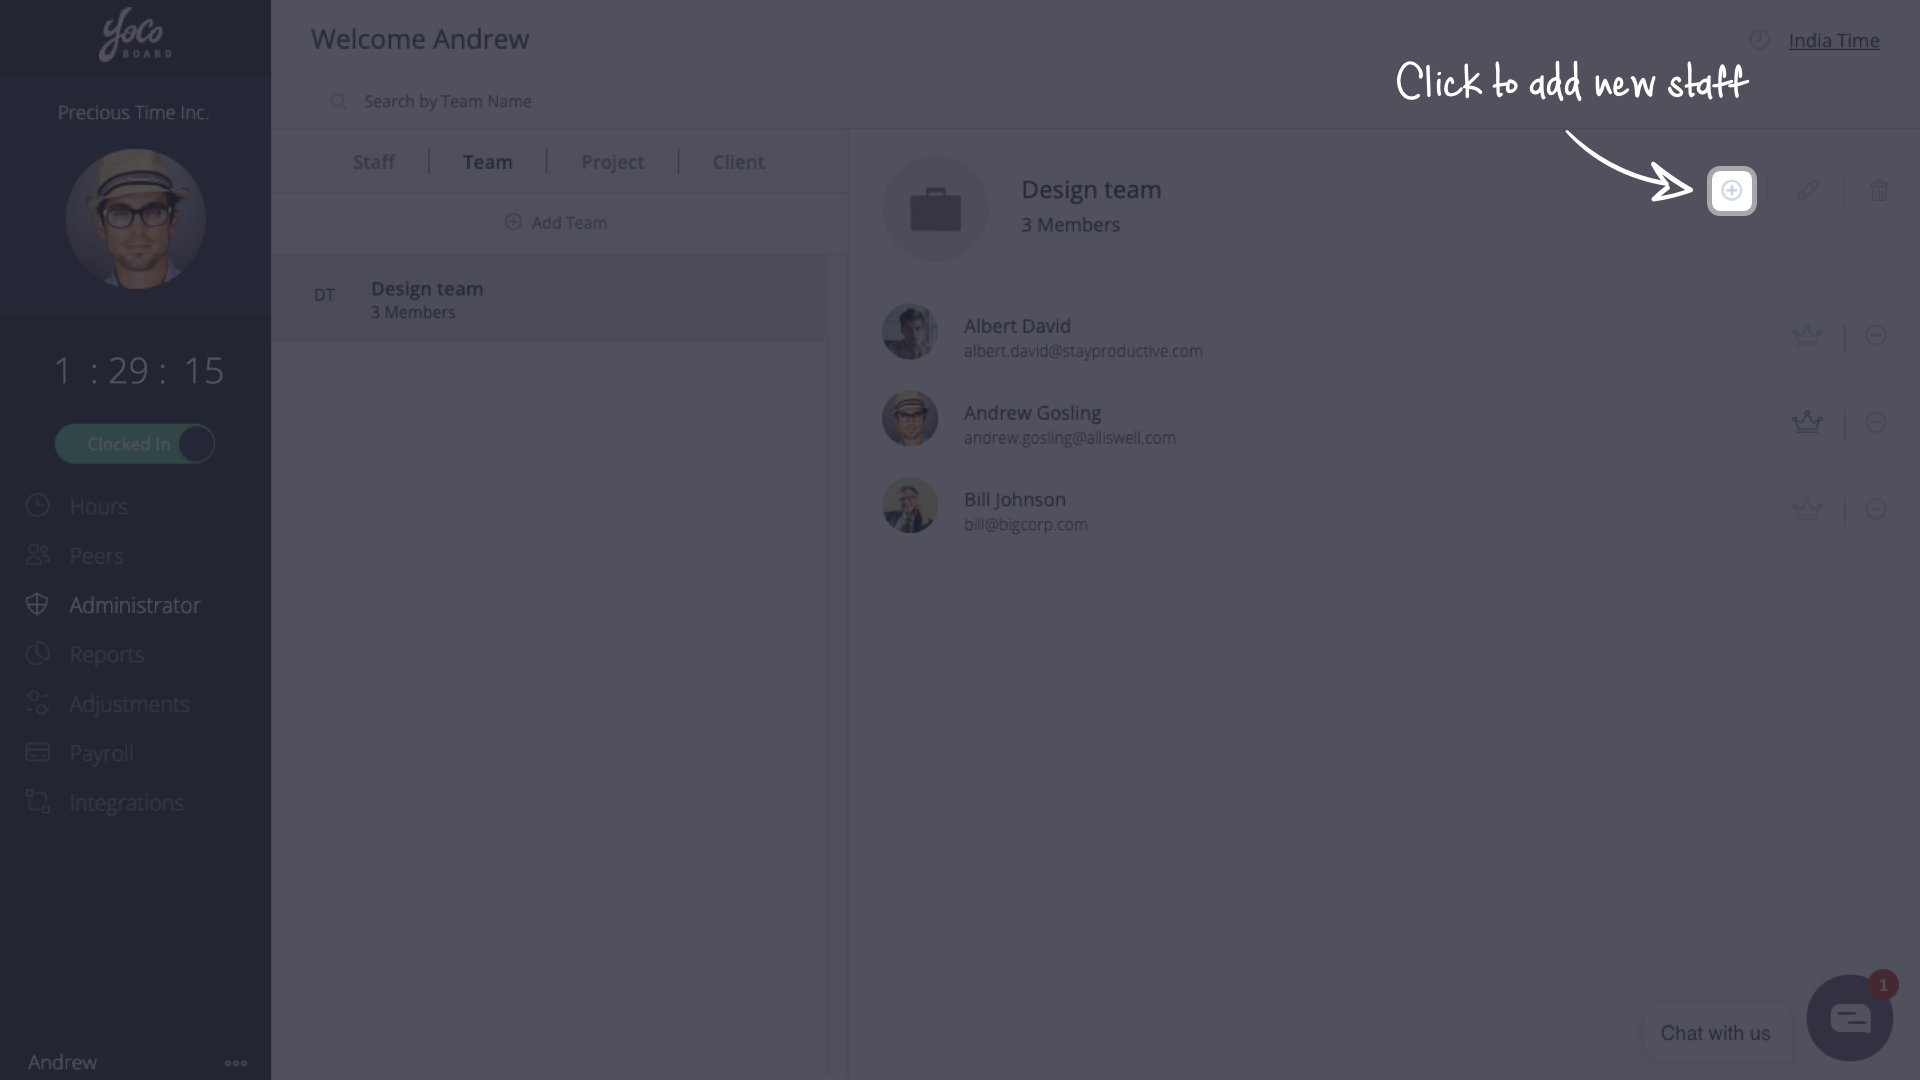
- On the YoCoBoard sidebar, click Administrator, click the Team tab and choose a team from the list.

- The existing team members are displayed on the right. Click the + icon to add new staff.

- On the pop-up, add new staff and click Save.

Note: You can add up to 20 staff to a team per instance. To add more, just repeat the procedure.


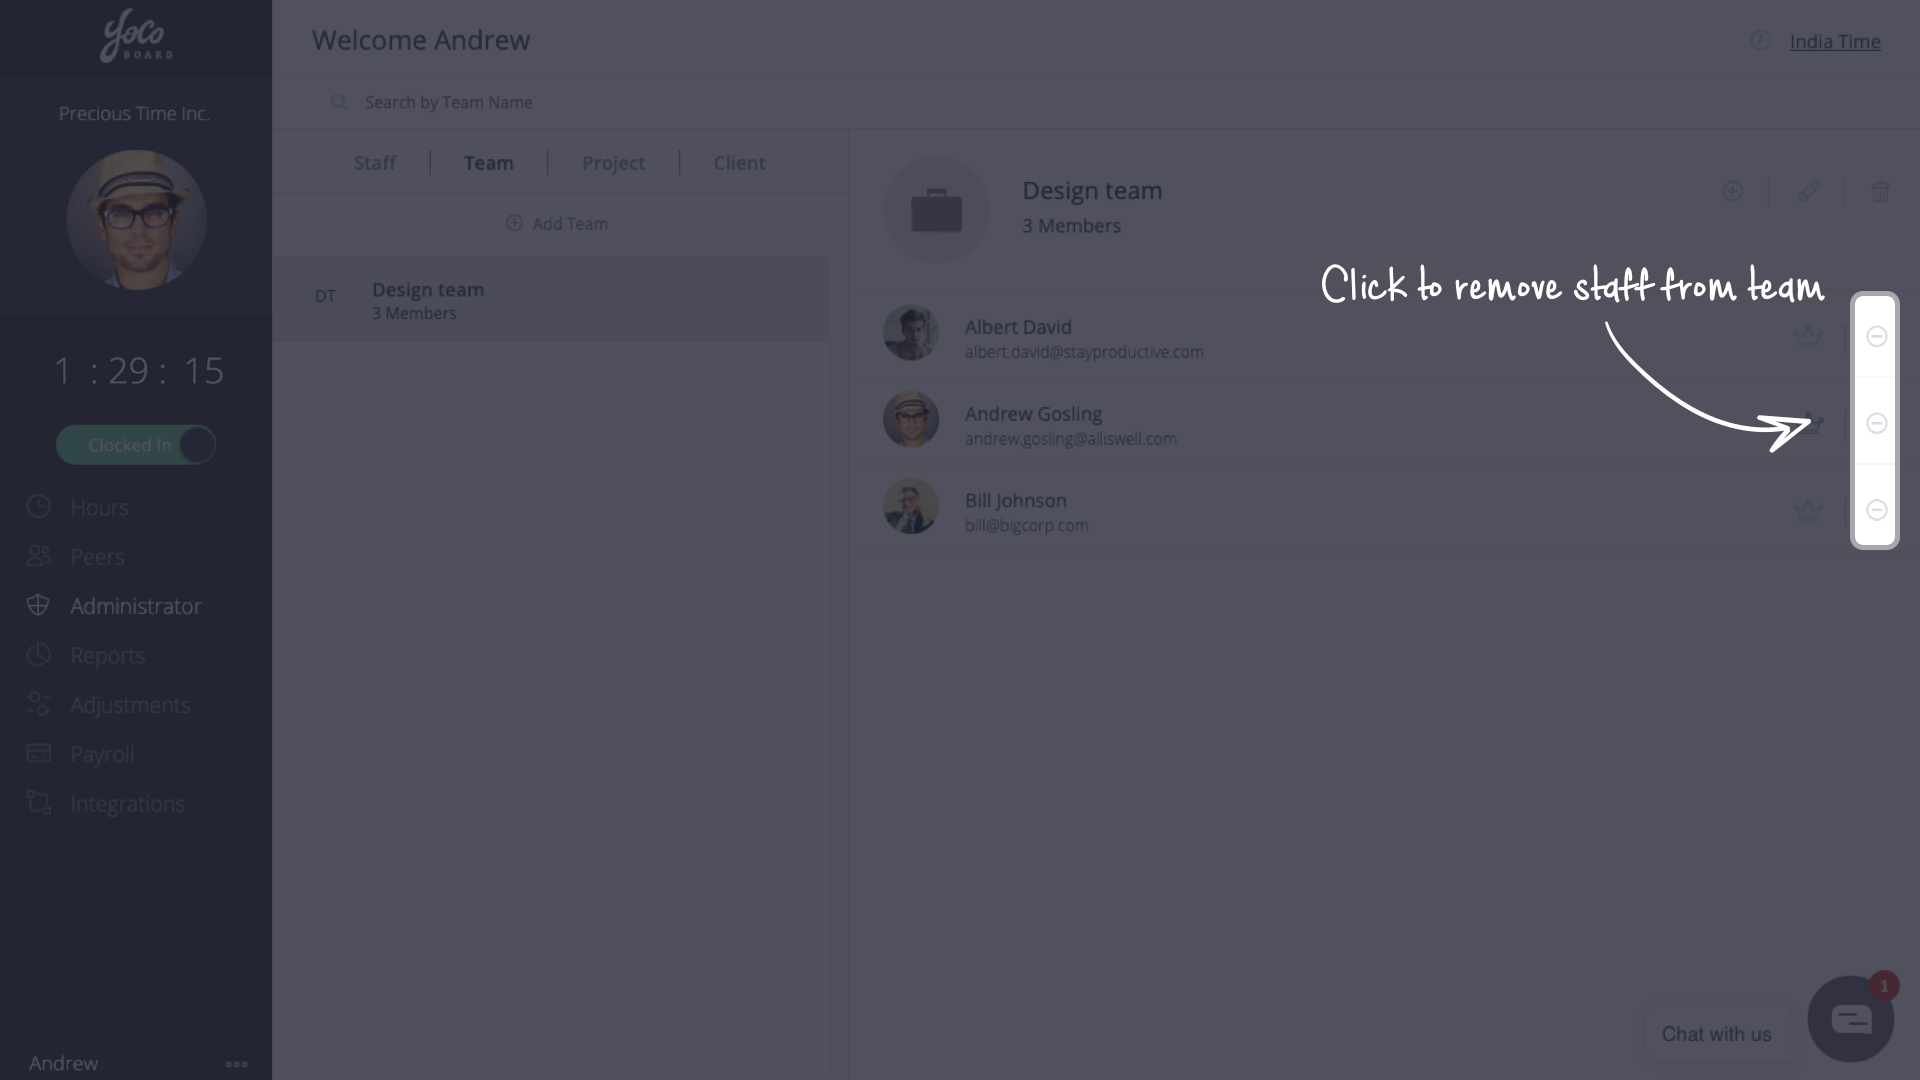
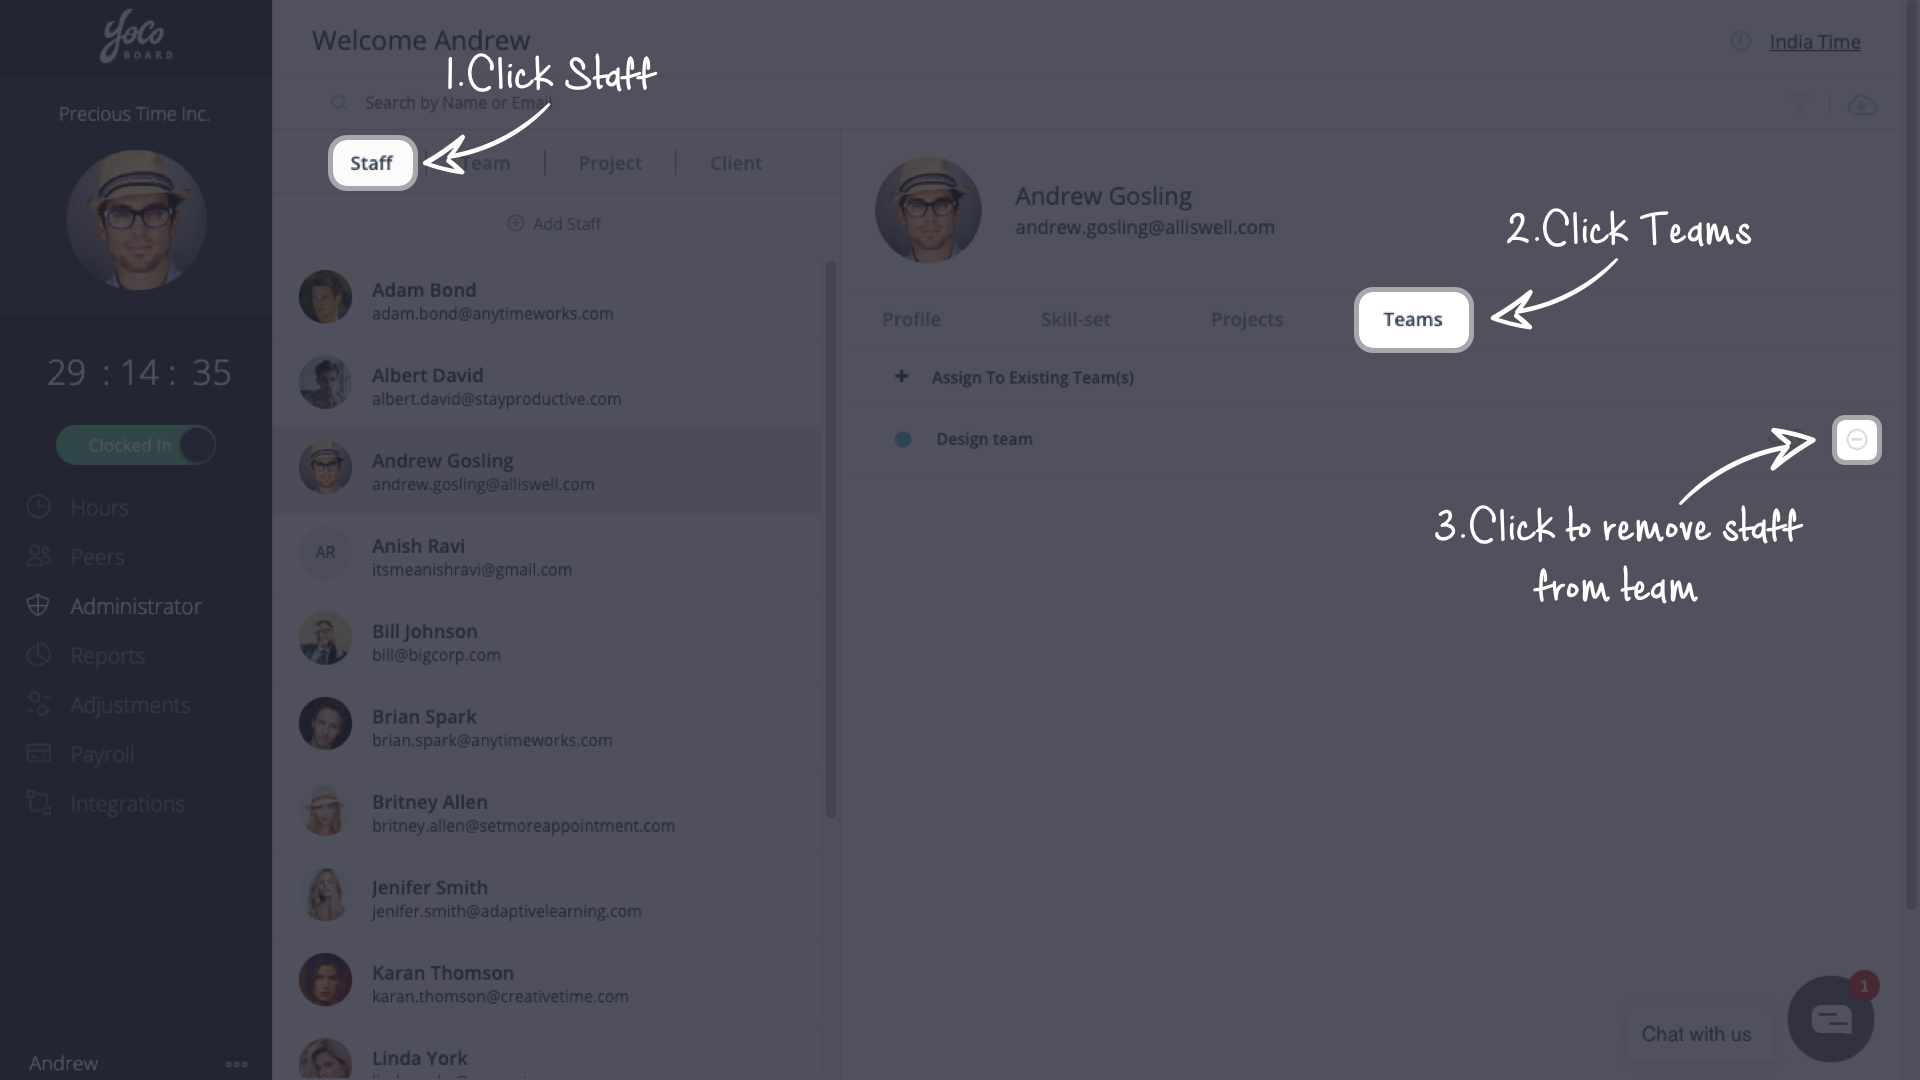
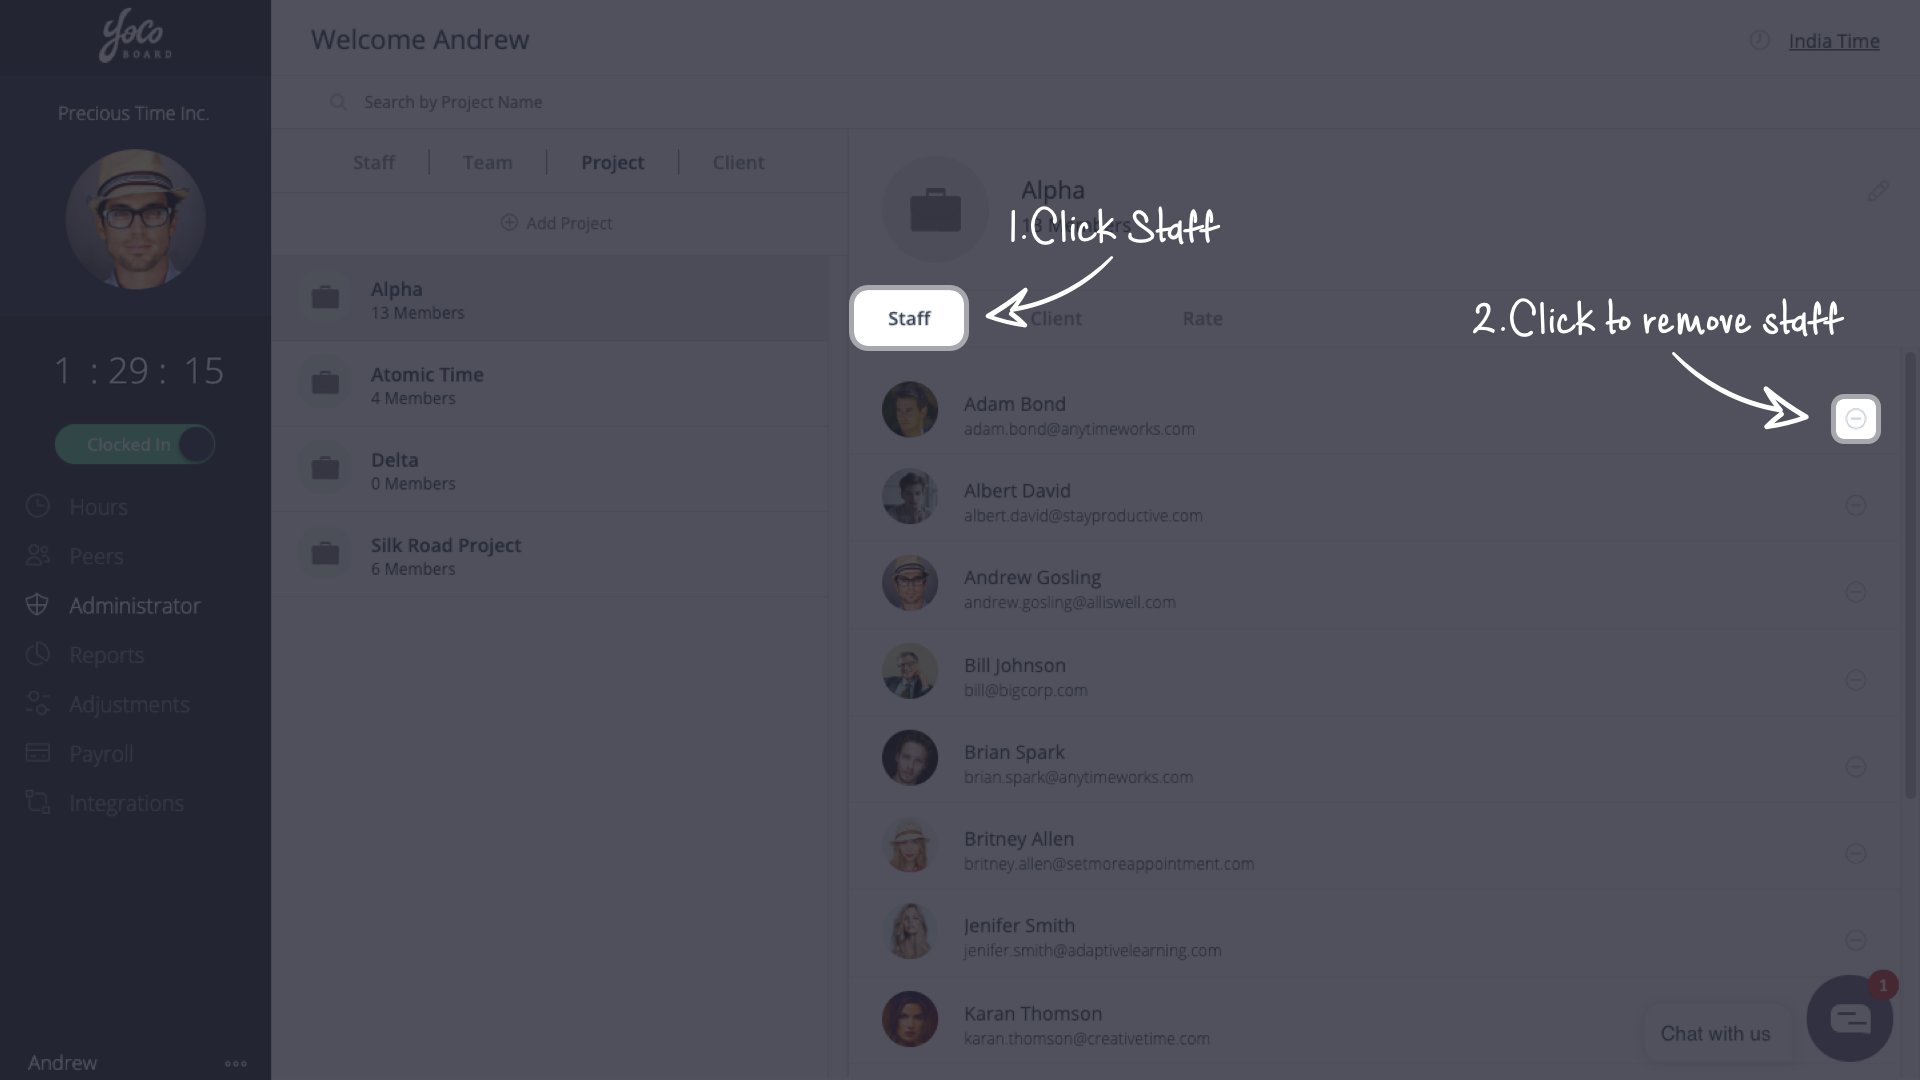
1.3 How to delete staff from a team
- On the YoCoBoard sidebar, click Administrator, click the Team tab and choose a team from the list.

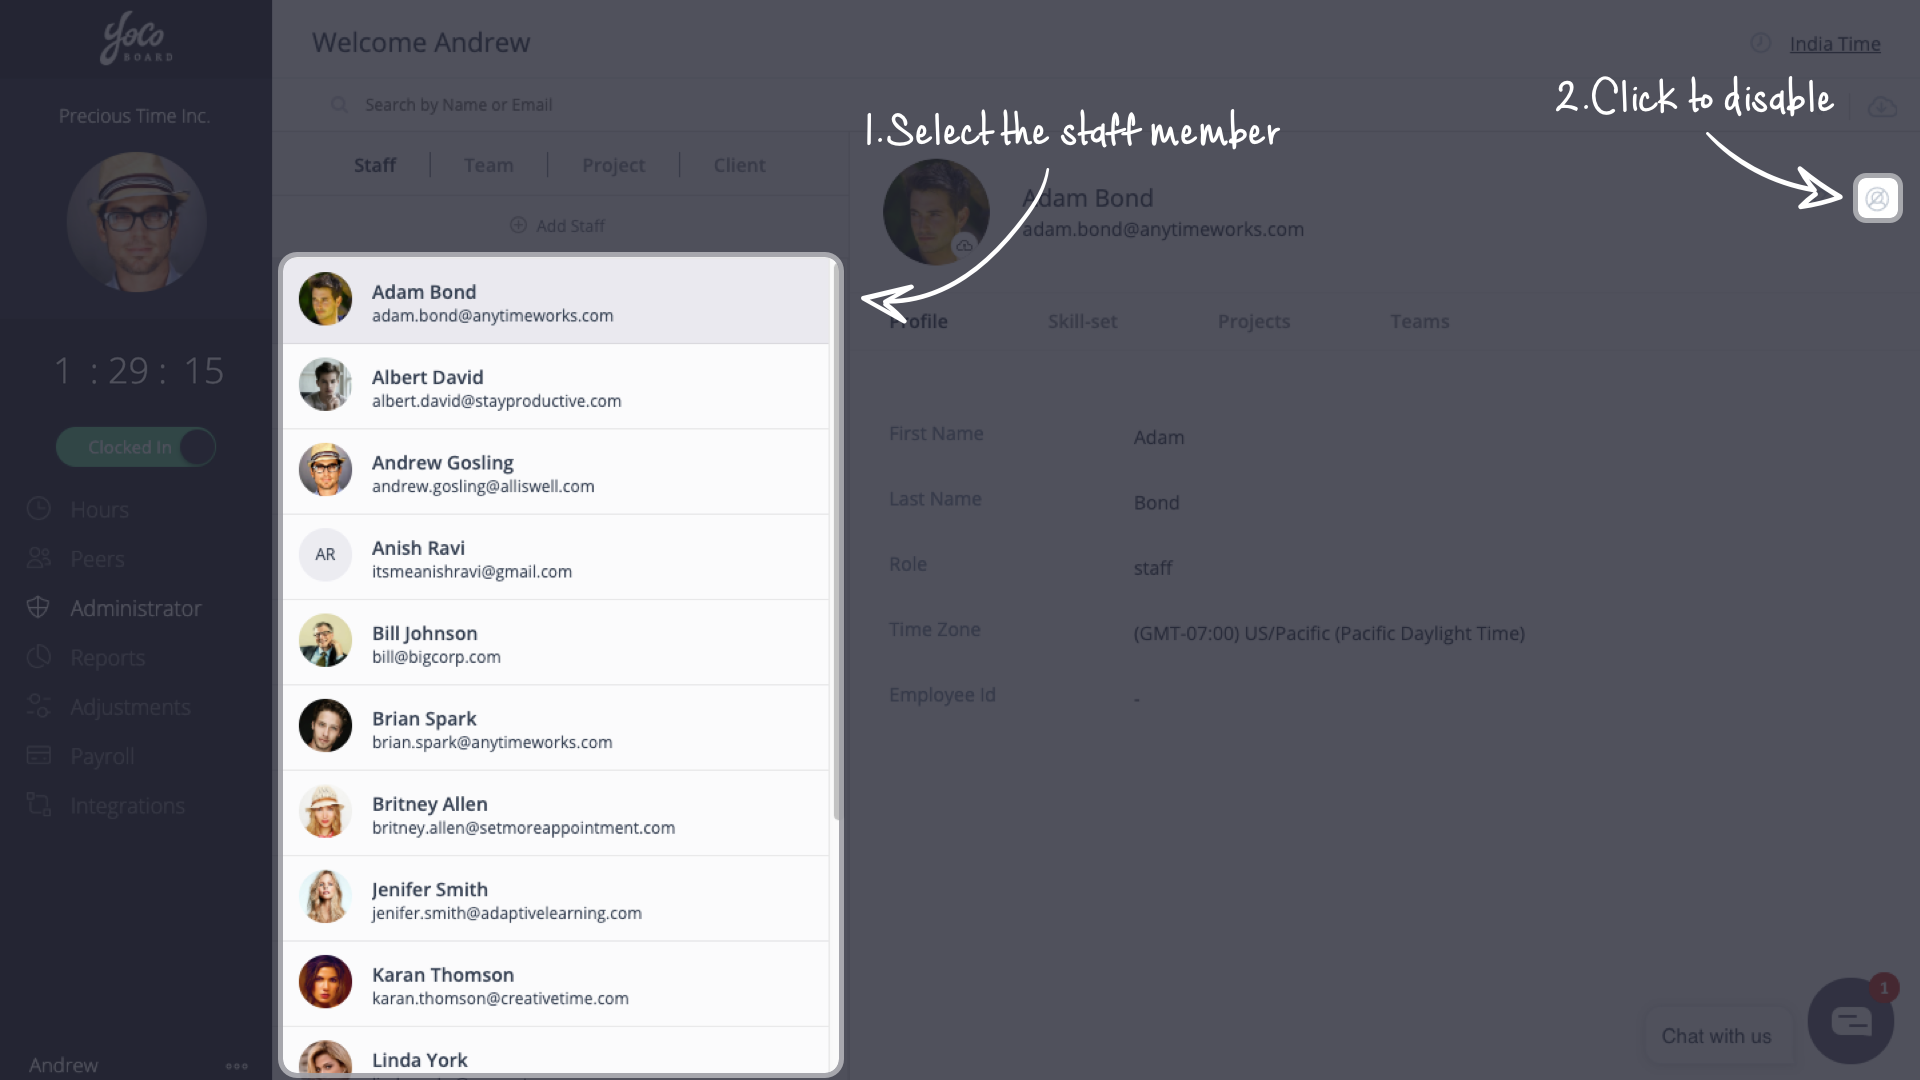
- Click the Remove (minus) icon to remove any staff member from the team.