Account Name, Time Zone & Delete Account
The Account Settings is where you can view or update your company name, time zone, time format, set overtime and more. This is where you determine your organization-level settings and how tracked time entries are recorded for all your staff members.
You can also delete your YoCoBoard account if you choose to, although that’s something we don’t recommend!
1.1 Managing general account settings
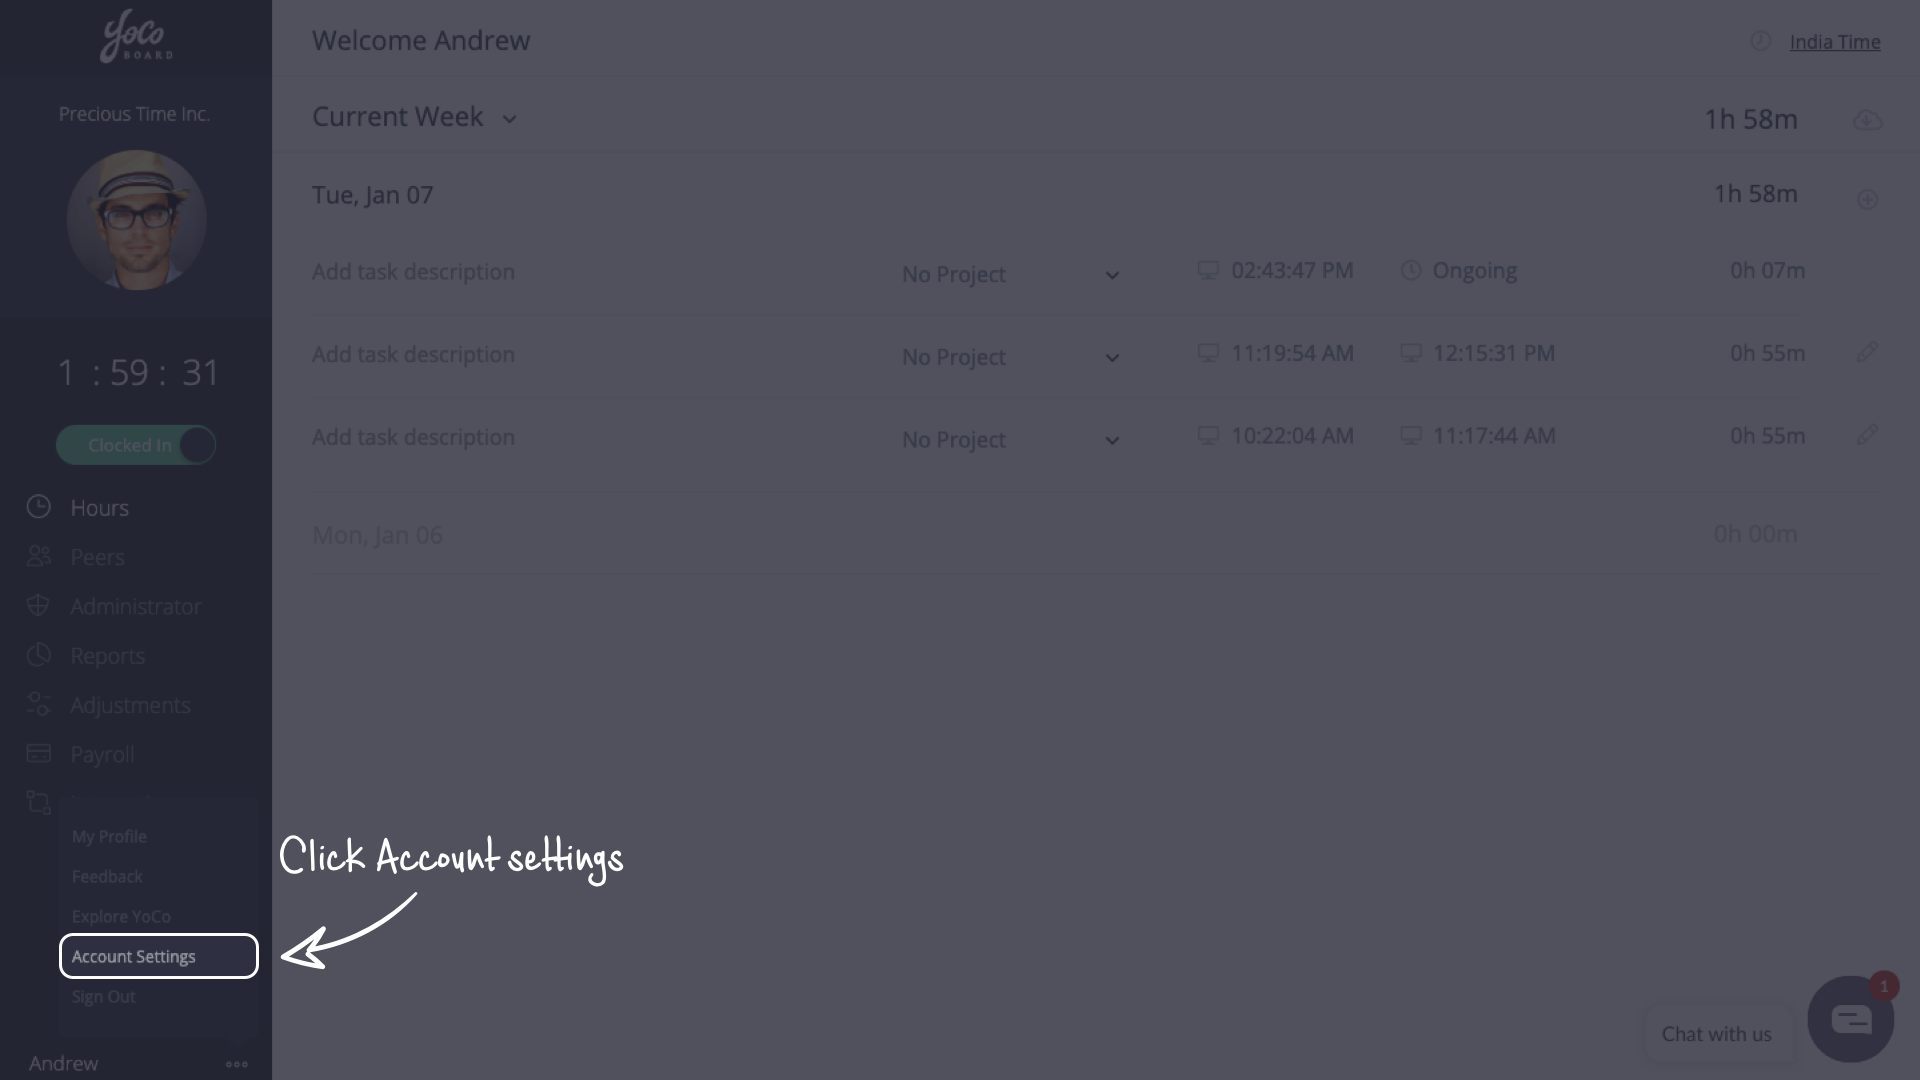
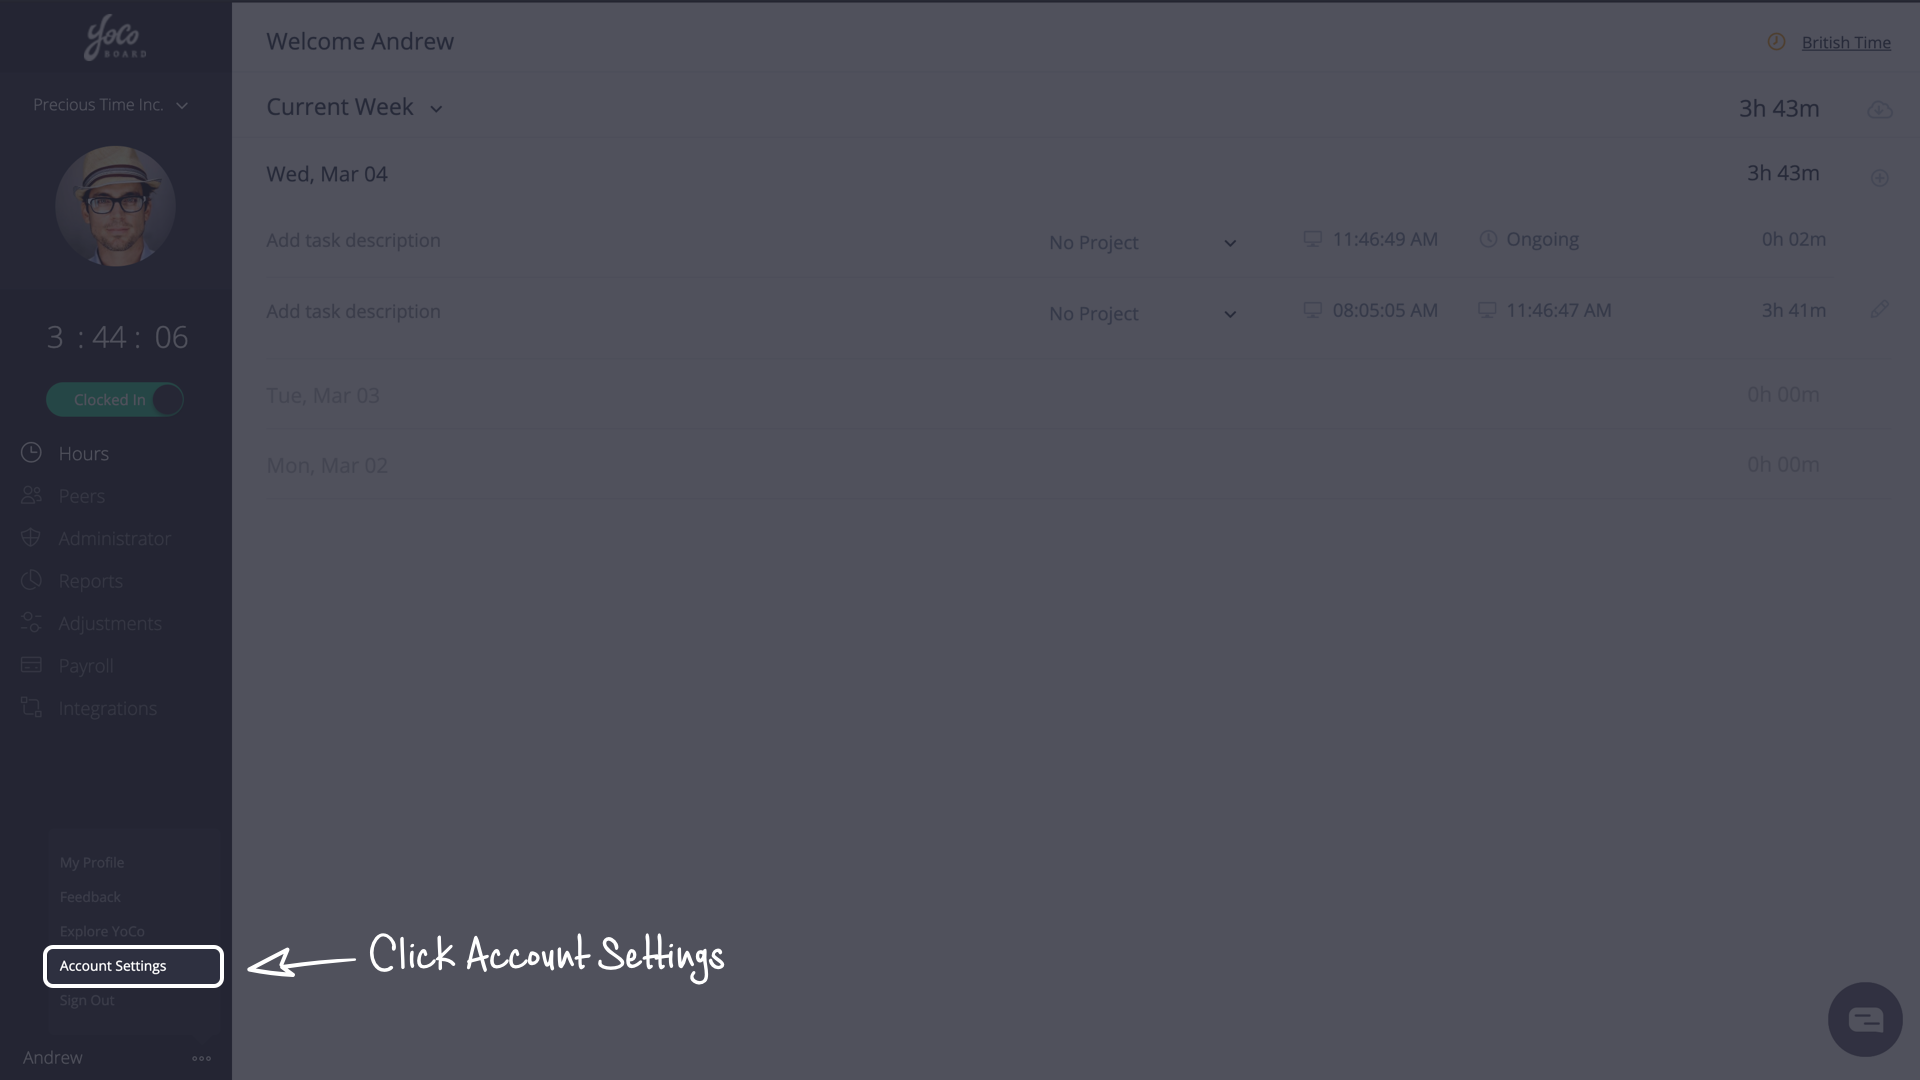
- At the bottom of the YoCoBoard sidebar, click the more options (3 dots) icon next to your name.

- Choose Account Settings from the list.

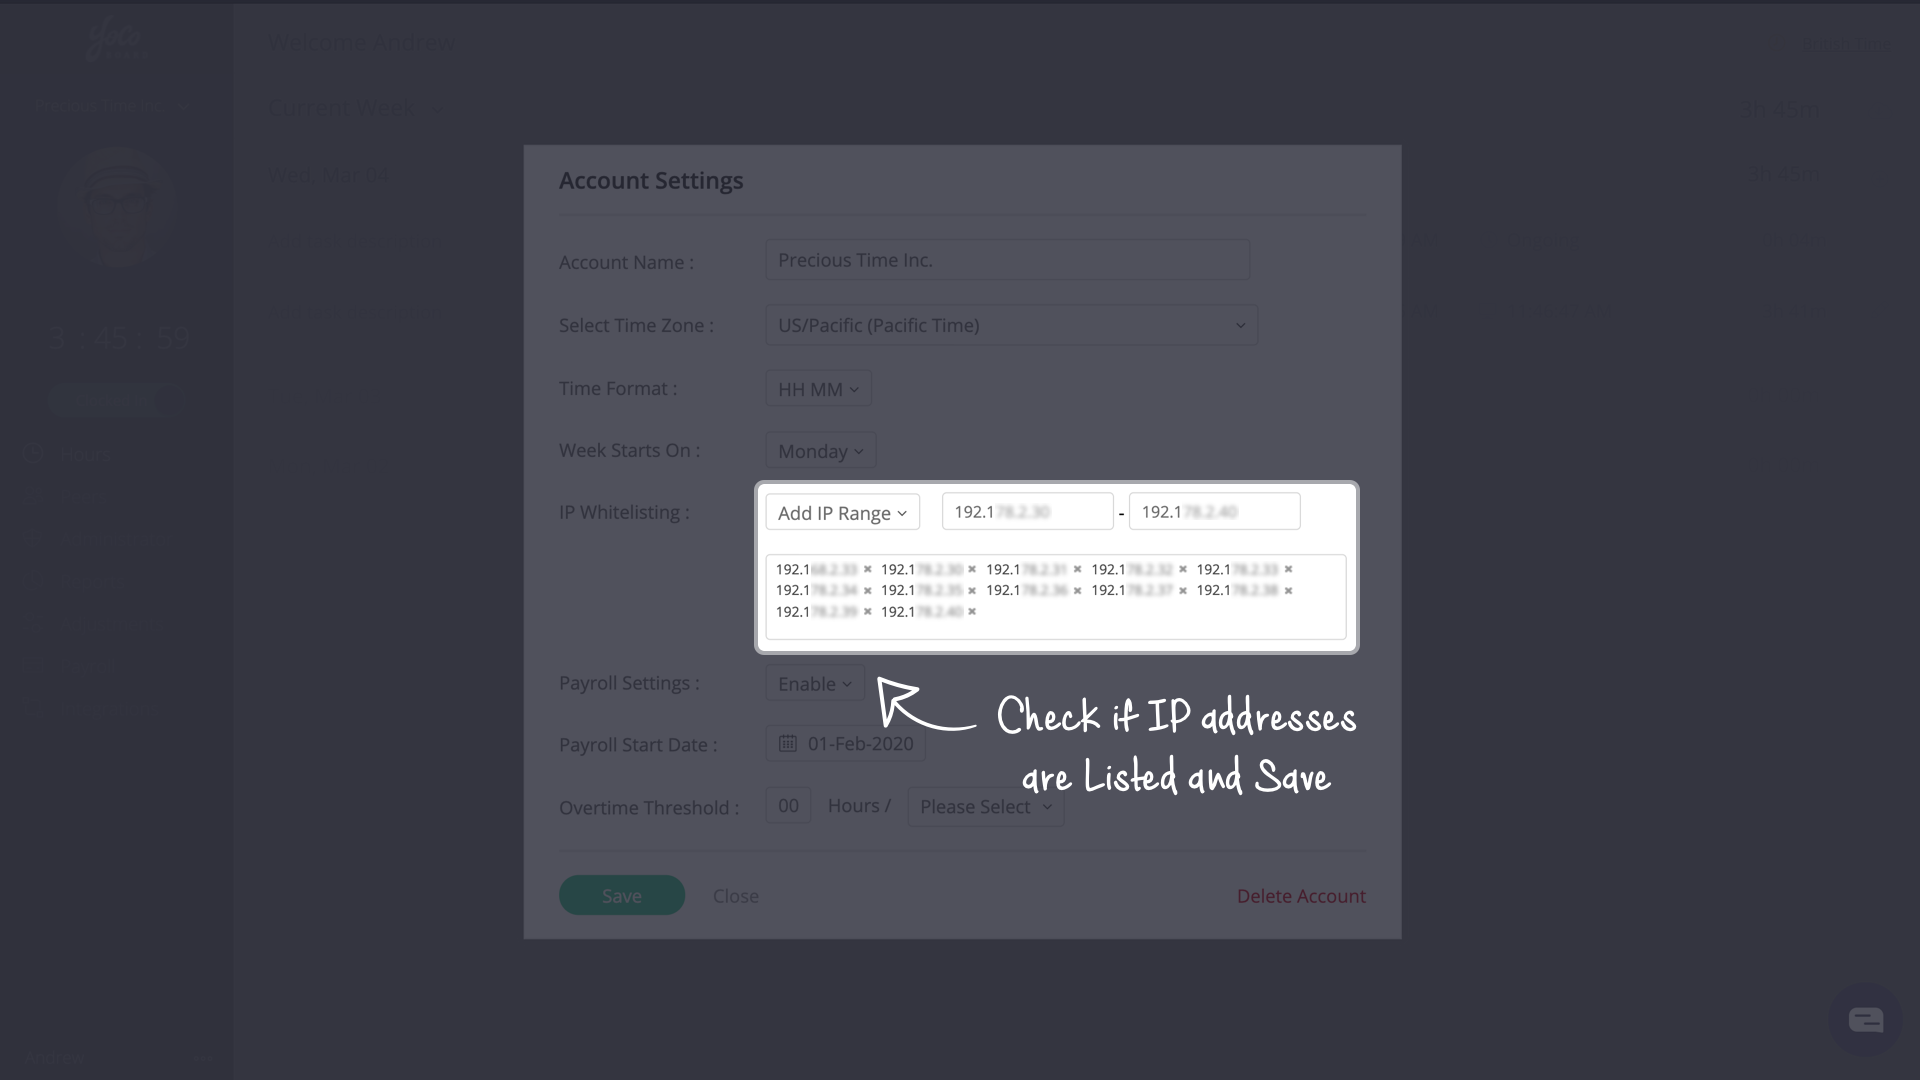
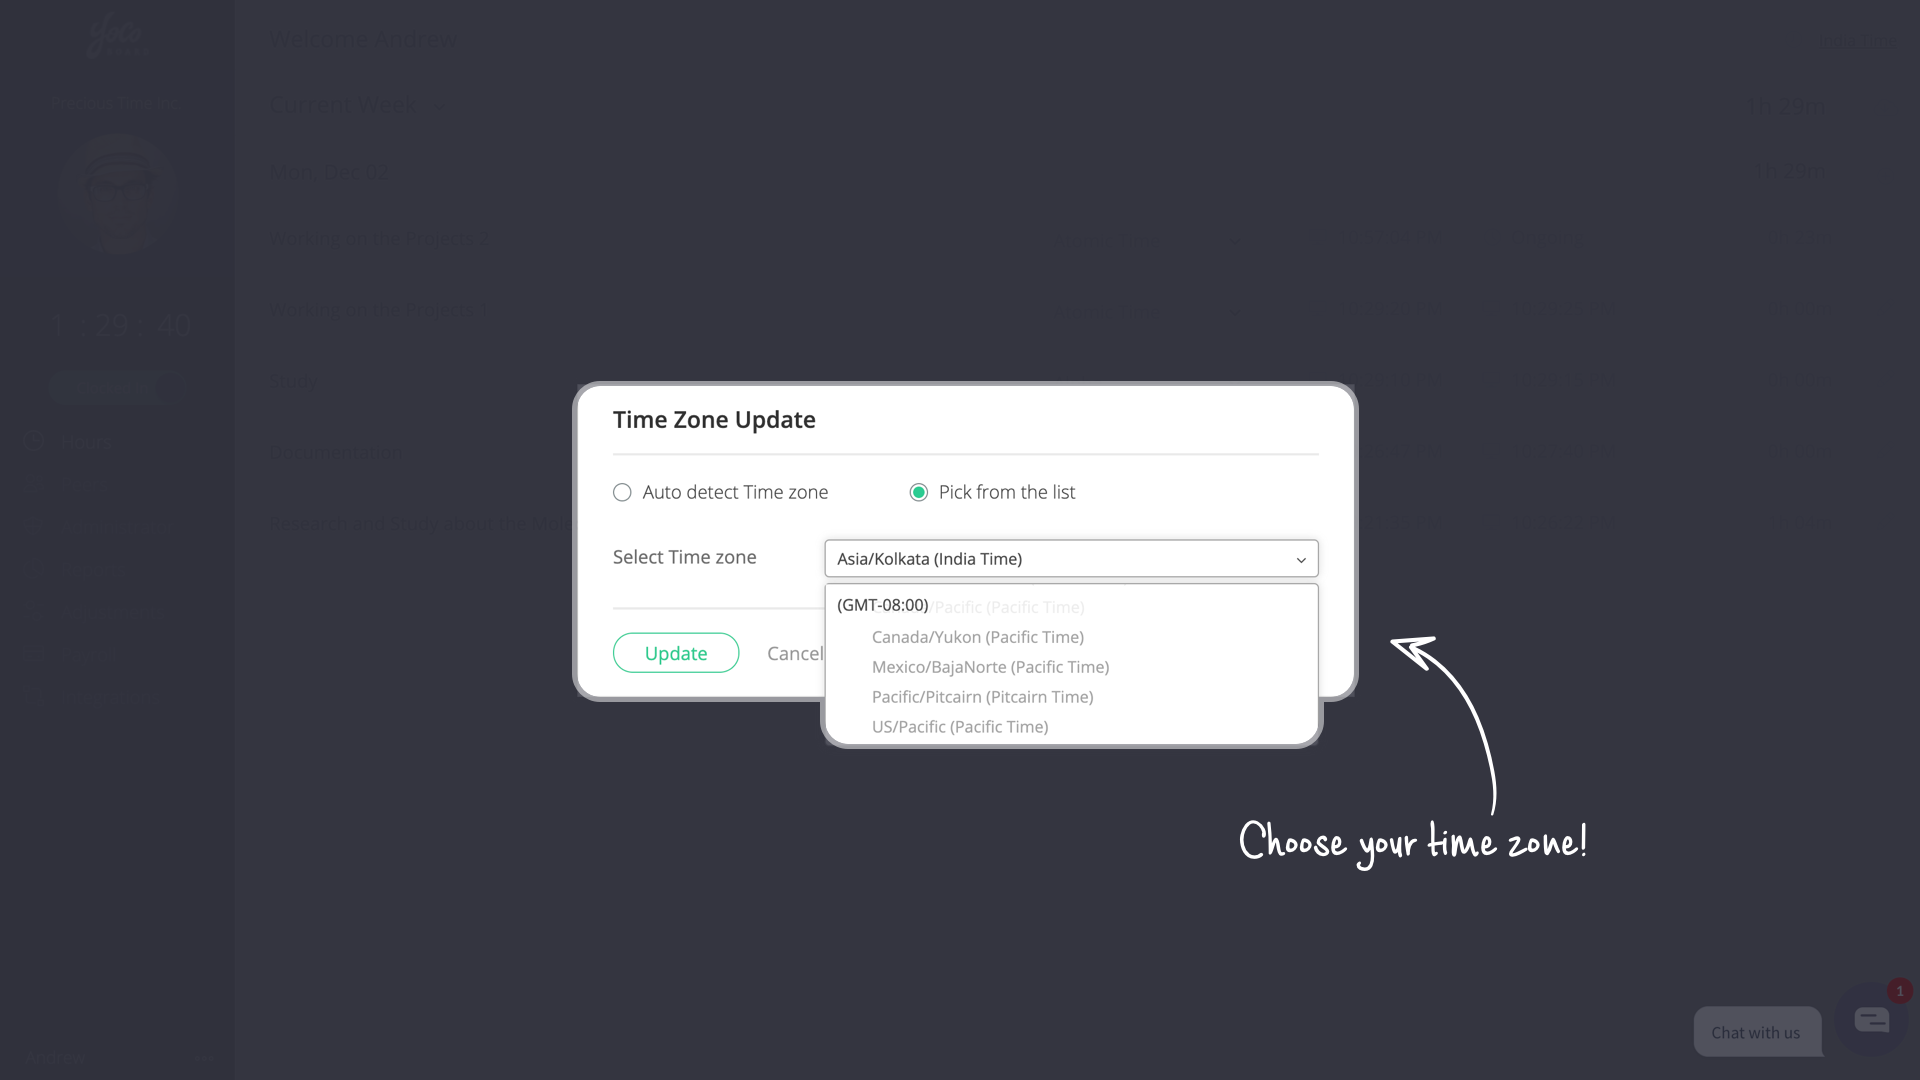
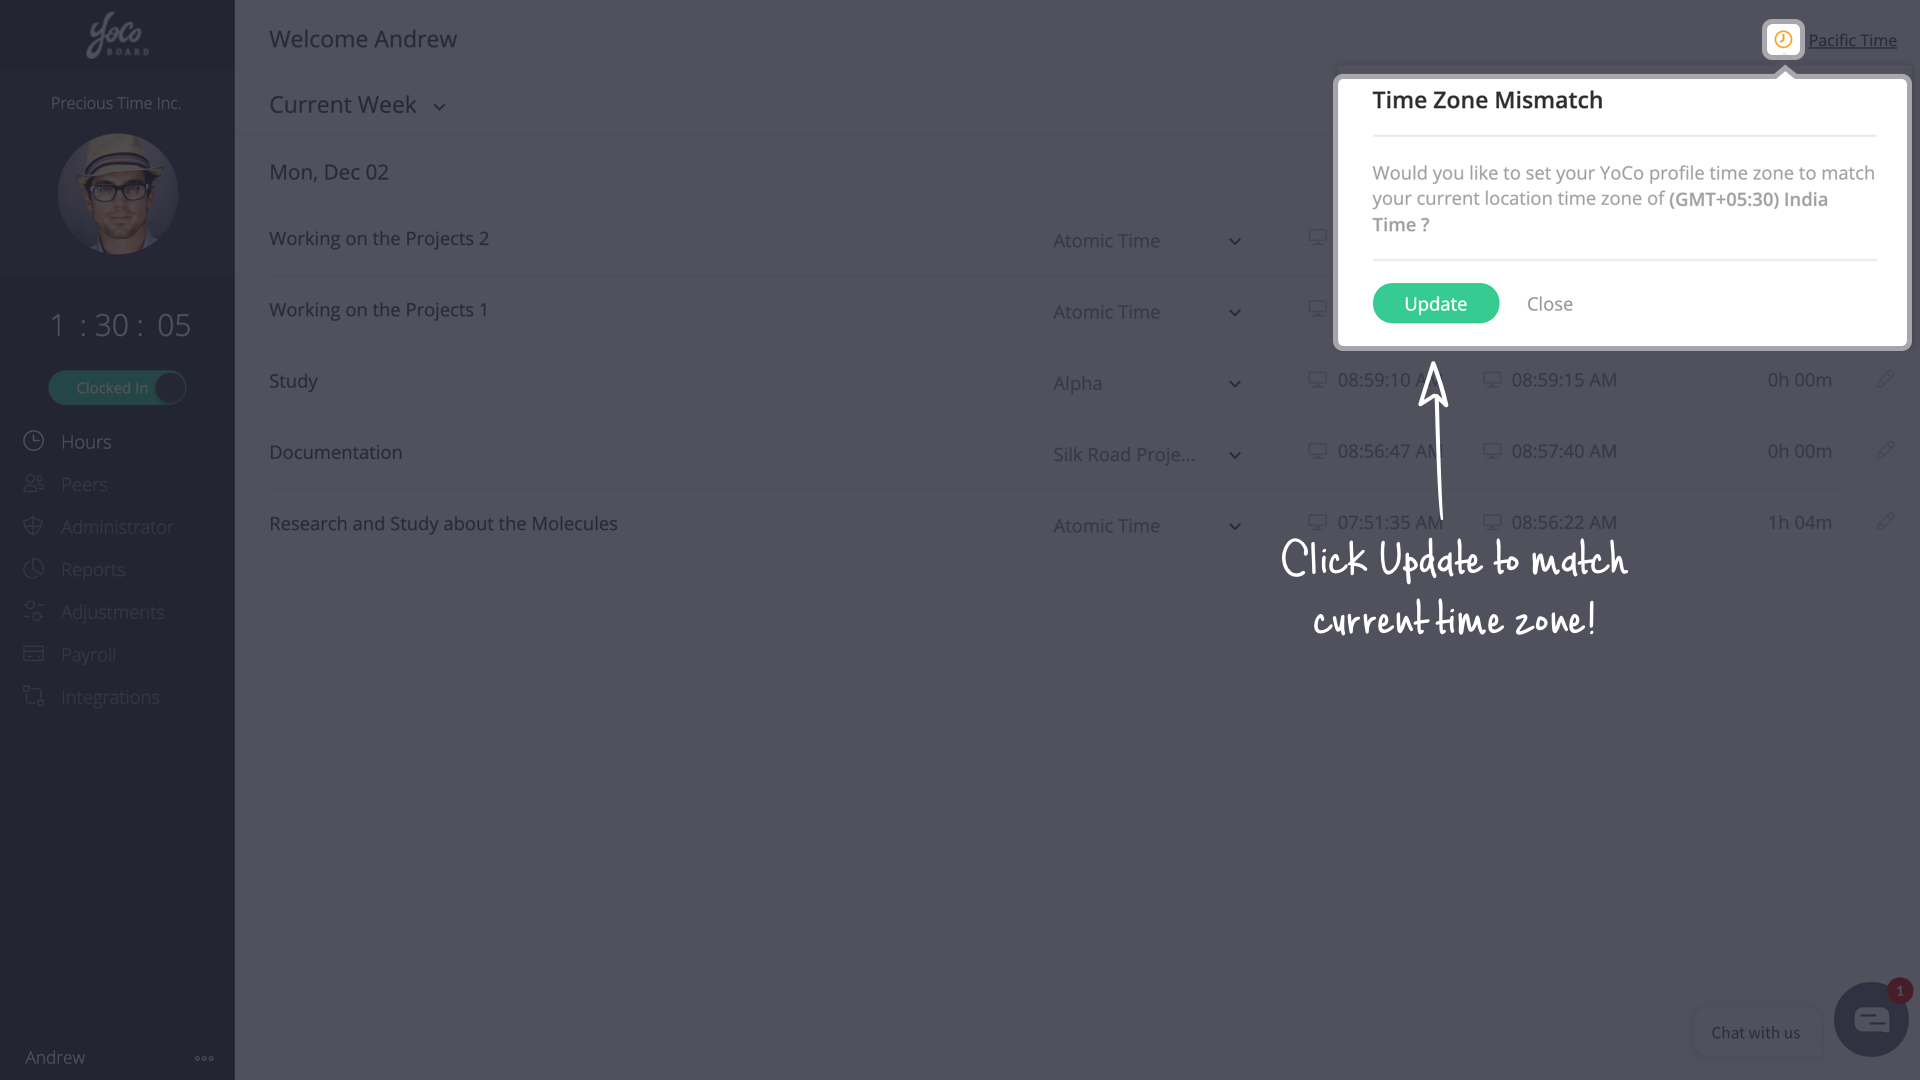
- On the Account Settings pop-up, you can manage general settings like changing your Account Name, Time Zone, Time Format or your week’s start day.

Note: You can learn more about advanced settings like IP Whitelisting or configuring your Payroll Settings.


1.2 Deleting your YoCoBoard account
An account can only be deleted by a Super Admin. When you delete your account, staff members belonging to the account will lose access to their YoCoBoard profile.
Note: Deleting your account will remove all your data on YoCoBoard and hence cannot be reversed.
- At the bottom of the YoCoBoard sidebar, click the more options (3 dots) icon next to your name.

- Choose Account Settings from the list.

- On the Account Settings pop-up, click the Delete Account button.

- Check the “I Agree” checkbox if you are sure about closing the account and deleting all profiles in it. Remember, this step cannot be undone. You can include your feedback (optional) and click the Close Account button.

- An email will be sent to your staff members informing them about the closure of the YoCoBoard account.